
Dulce de Leche Brownies

Some of the links in this post might be affiliate links. As an Amazon Associate I earn from qualifying purchases. This means I earn a small amount of money if you purchase something through the link, at no cost to you. I promise I only recommend items I love! You can read our full disclosure here.
These brownies are dense, fudgy, gooey, with a hint of caramel and a perfect shiny top. Also, they’re simple to make! Make your own dulce de leche or buy some ready-made to make this recipe extra easy.
What’s dulce de leche? Plus, my favourite hack for making it!
Dulce de leche is sweetened milk that is cooked until it is turned into a caramel. You can either buy it already made from the grocery store or you can make it yourself from scratch or using a can of sweetened condensed milk.
My very favourite way to make dulce de leche is in a slow cooker. It’s super easy - just take a can of sweetened condensed milk and divide it up into 4 or 8 oz small mason jars (I like to use the short ones so they fit better), then put it in your slow cooker, cover with water and cook on high for about 6 hours, until it looks caramelized. Ta-dah! So easy.
I’ve seen some people do this by putting the whole can of sweetened condensed milk in boiling water or in the slow cooker, but that freaks me out, so I like to transfer it to mason jars first because I know mason jars are safe for cooking in. Alternatively, you can also make it by putting sweetened condensed milk in a double boiler and cooking until it’s caramelized but I find this takes foreverrrrrr and you have to pay attention to it and who’s got the time for that?
So, before you start this recipe, make some dulce de leche in your slow cooker the day before, or pick some up from the grocery store!

What do I need to make them?
Here’s your grocery list:
-Dulce de Leche (make your own with the instructions above, or buy ready-made!)
-Salted butter
-Granulated Sugar
-Cocoa powder
-Espresso powder
-Eggs
-All Purpose Flour
-Salt
-Chocolate chips
-Flaky sea salt (like Maldon - optional)
You will also need a kitchen scale or measuring cups & spoons (but I highly recommend the scale!) , an 8 x 8 pan, some bowls and whisks and spatulas, and a piping bag with a small round tip (or a ziploc bag with the corner cut off will do in a pinch)
Here’s how to make them:
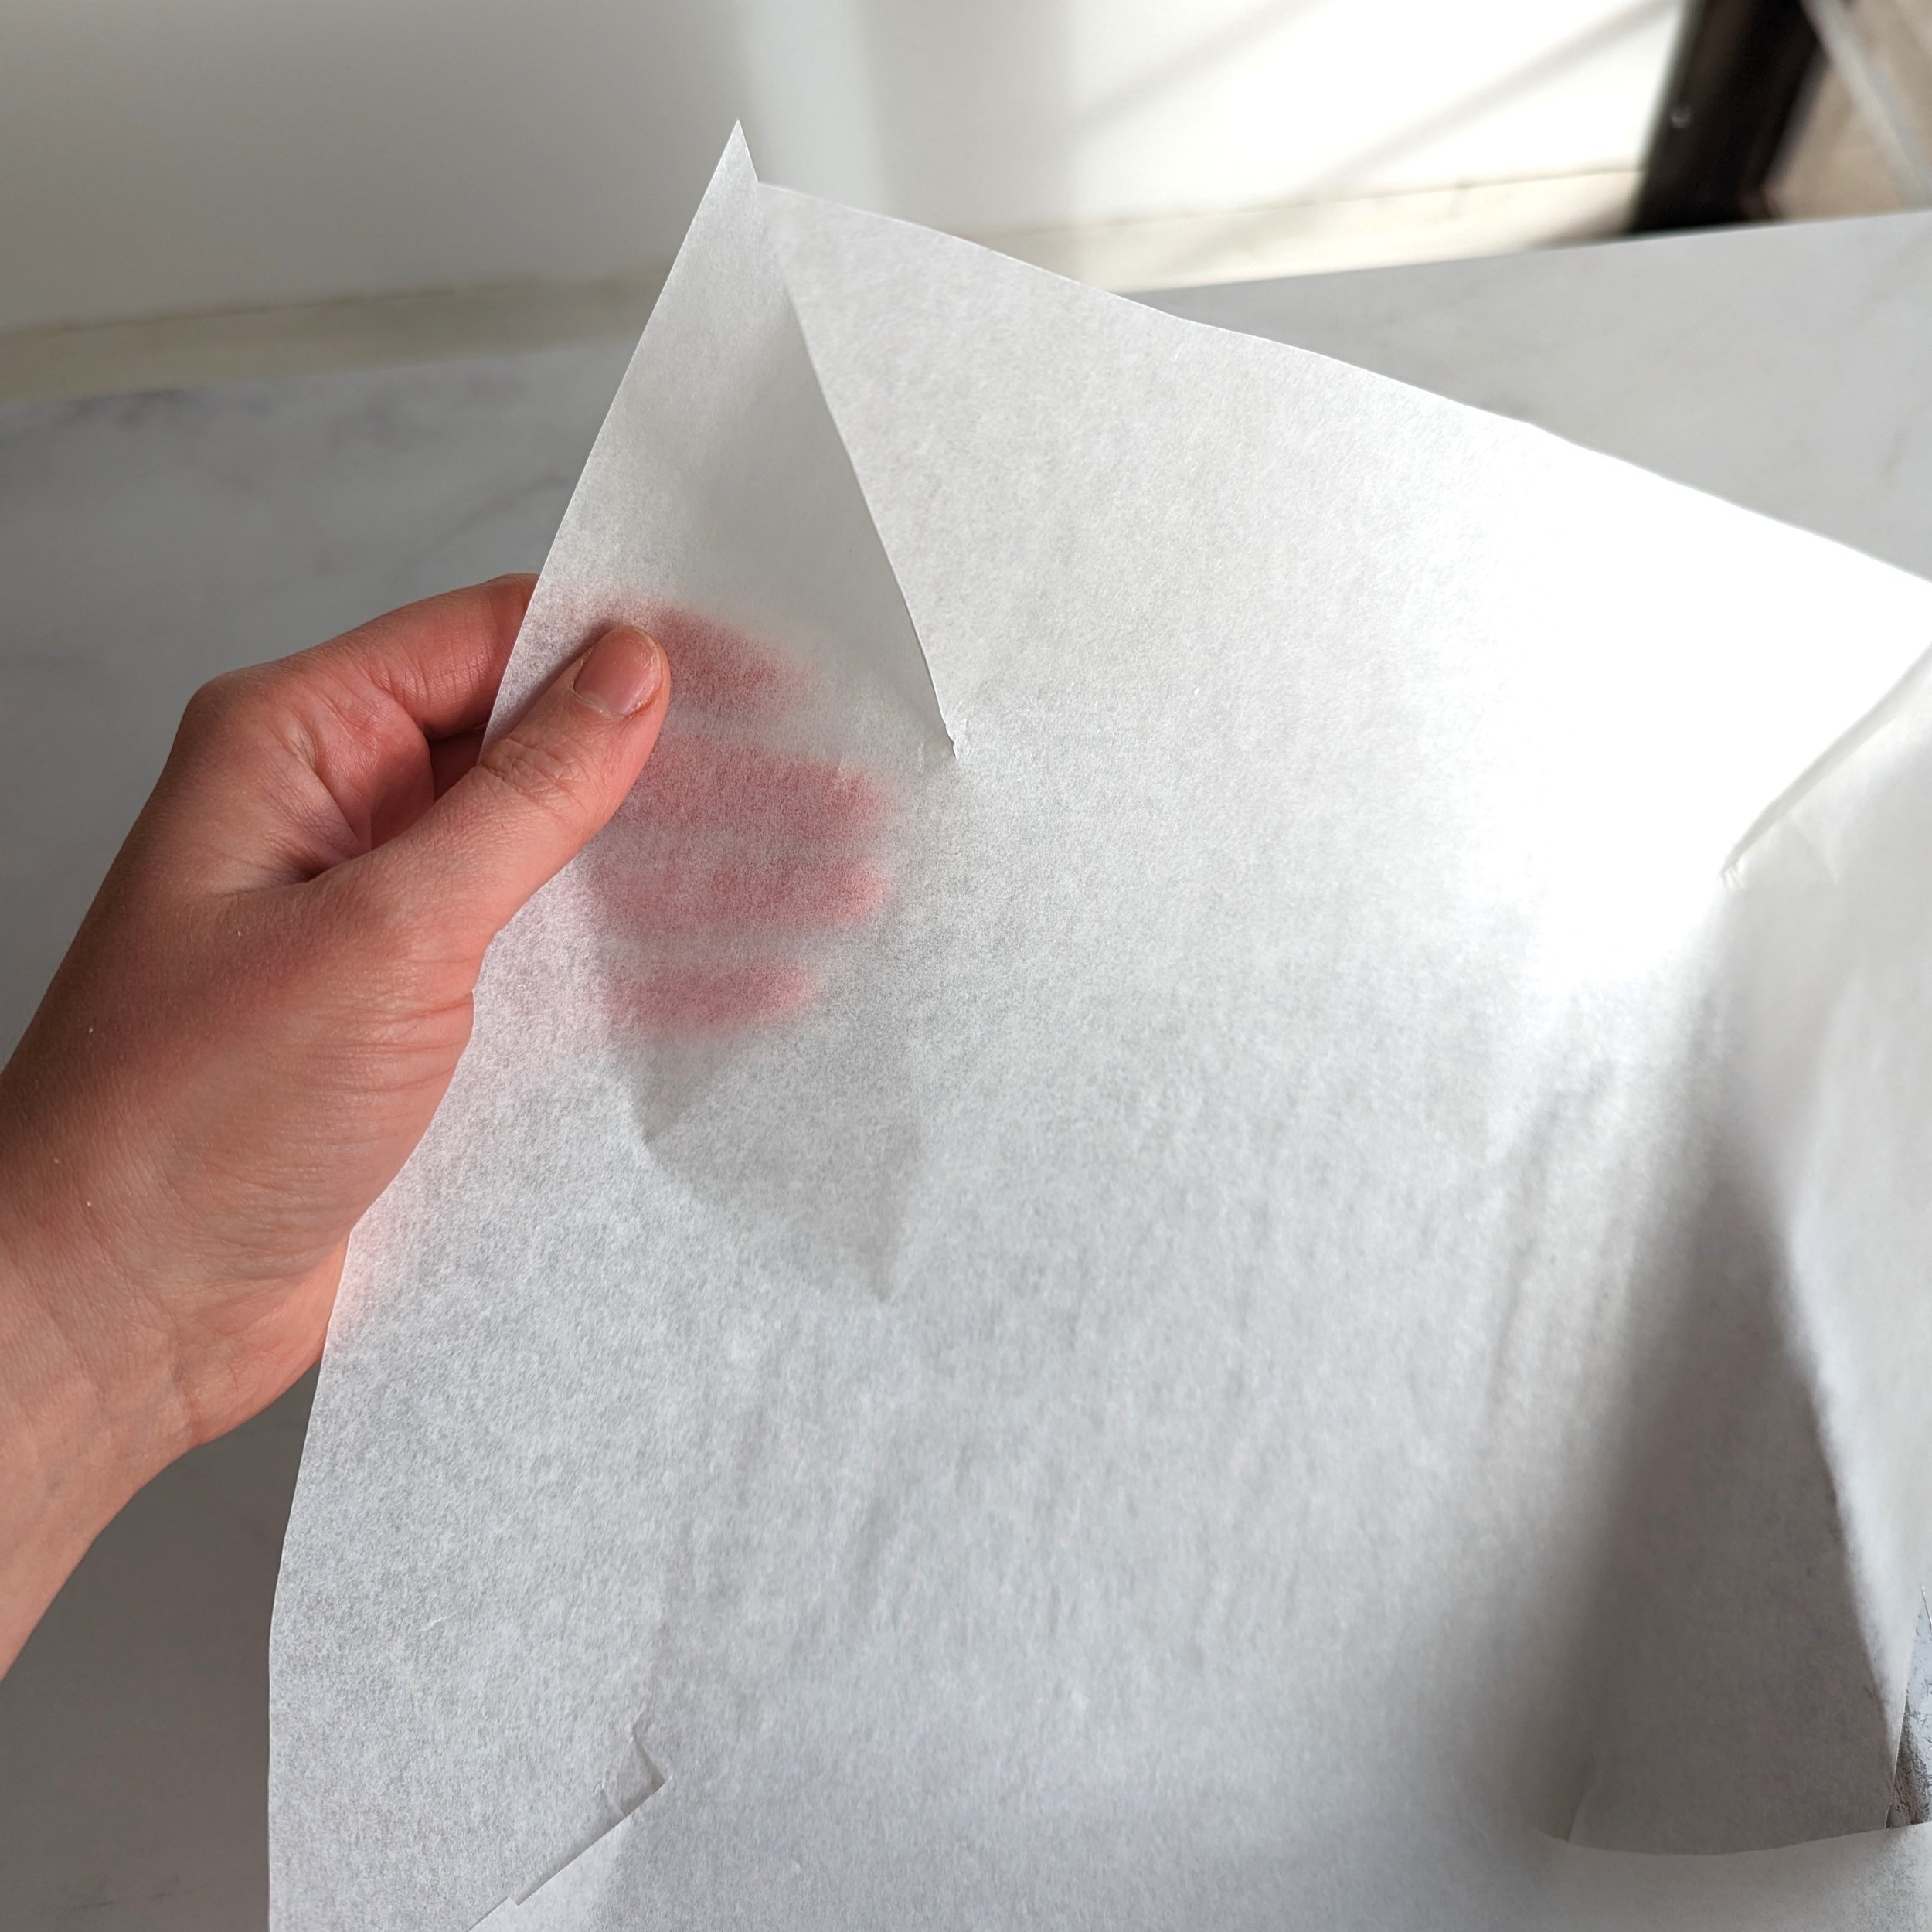
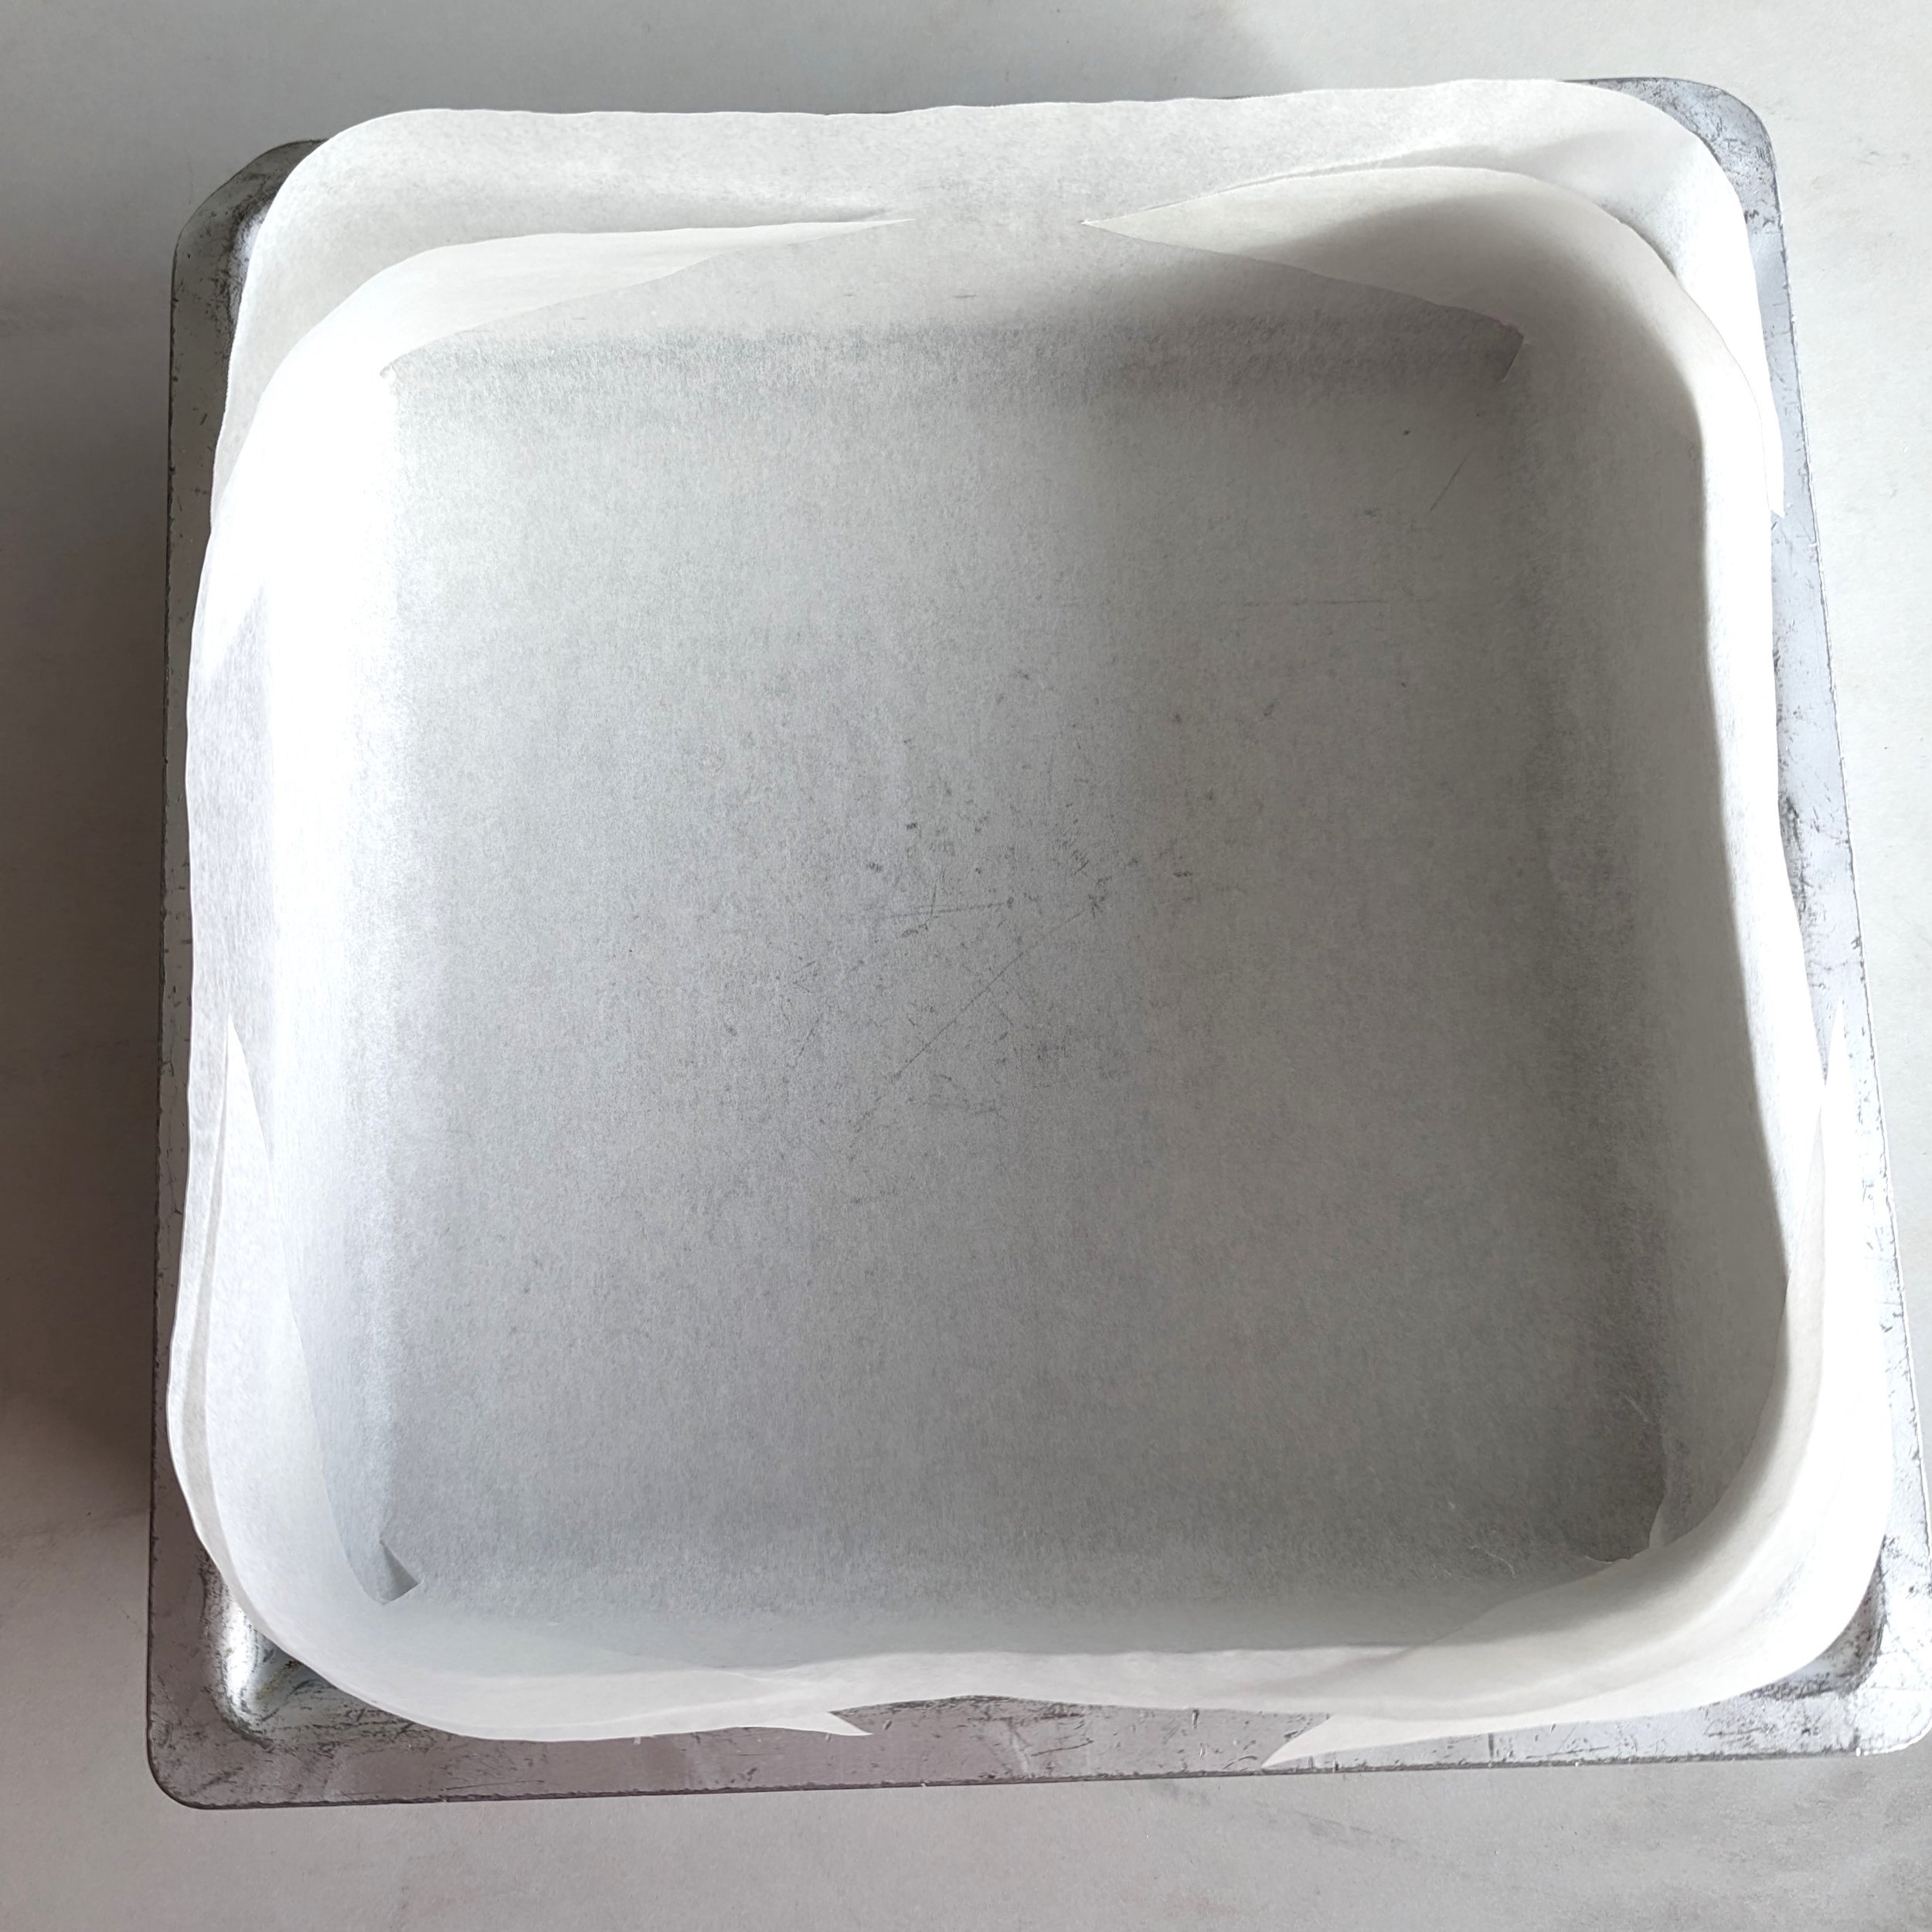
Prepare your 8 x 8 pan by lining it with parchment paper. I like to cut a square of parchment a few inches bigger than my pan on each side, then make diagonal cuts on each corner so that it tucks nicely into my pan.
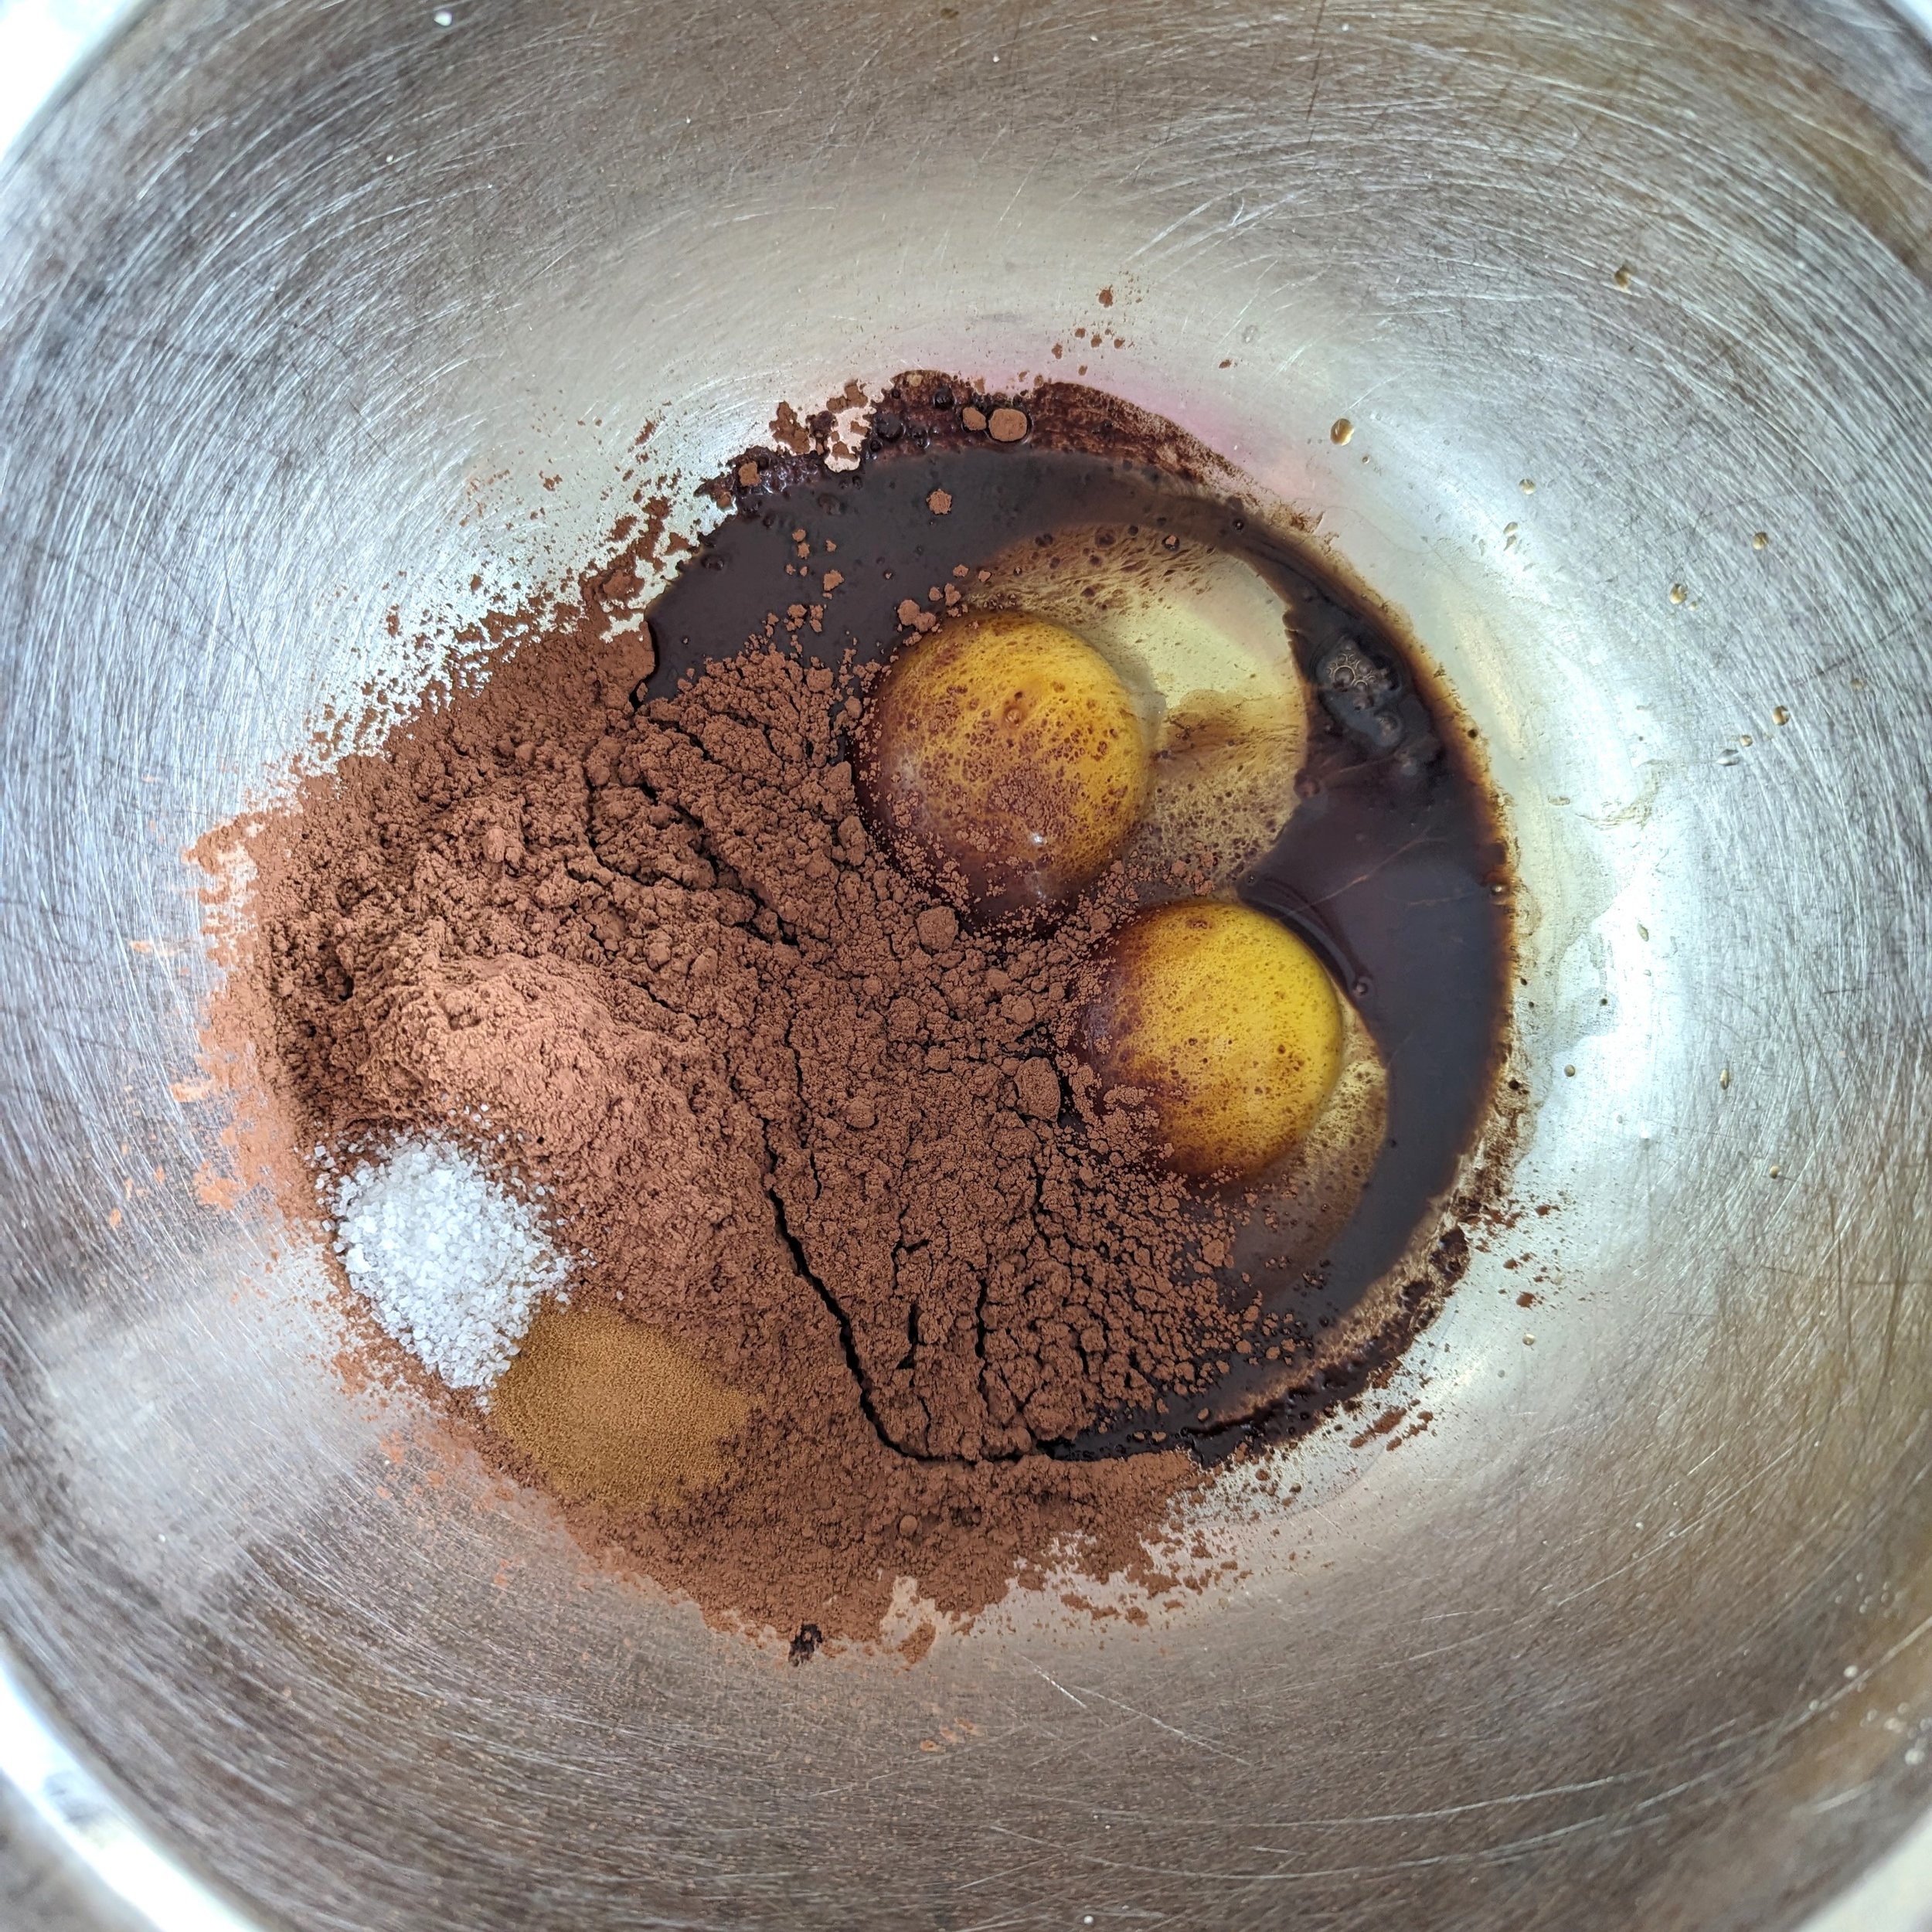
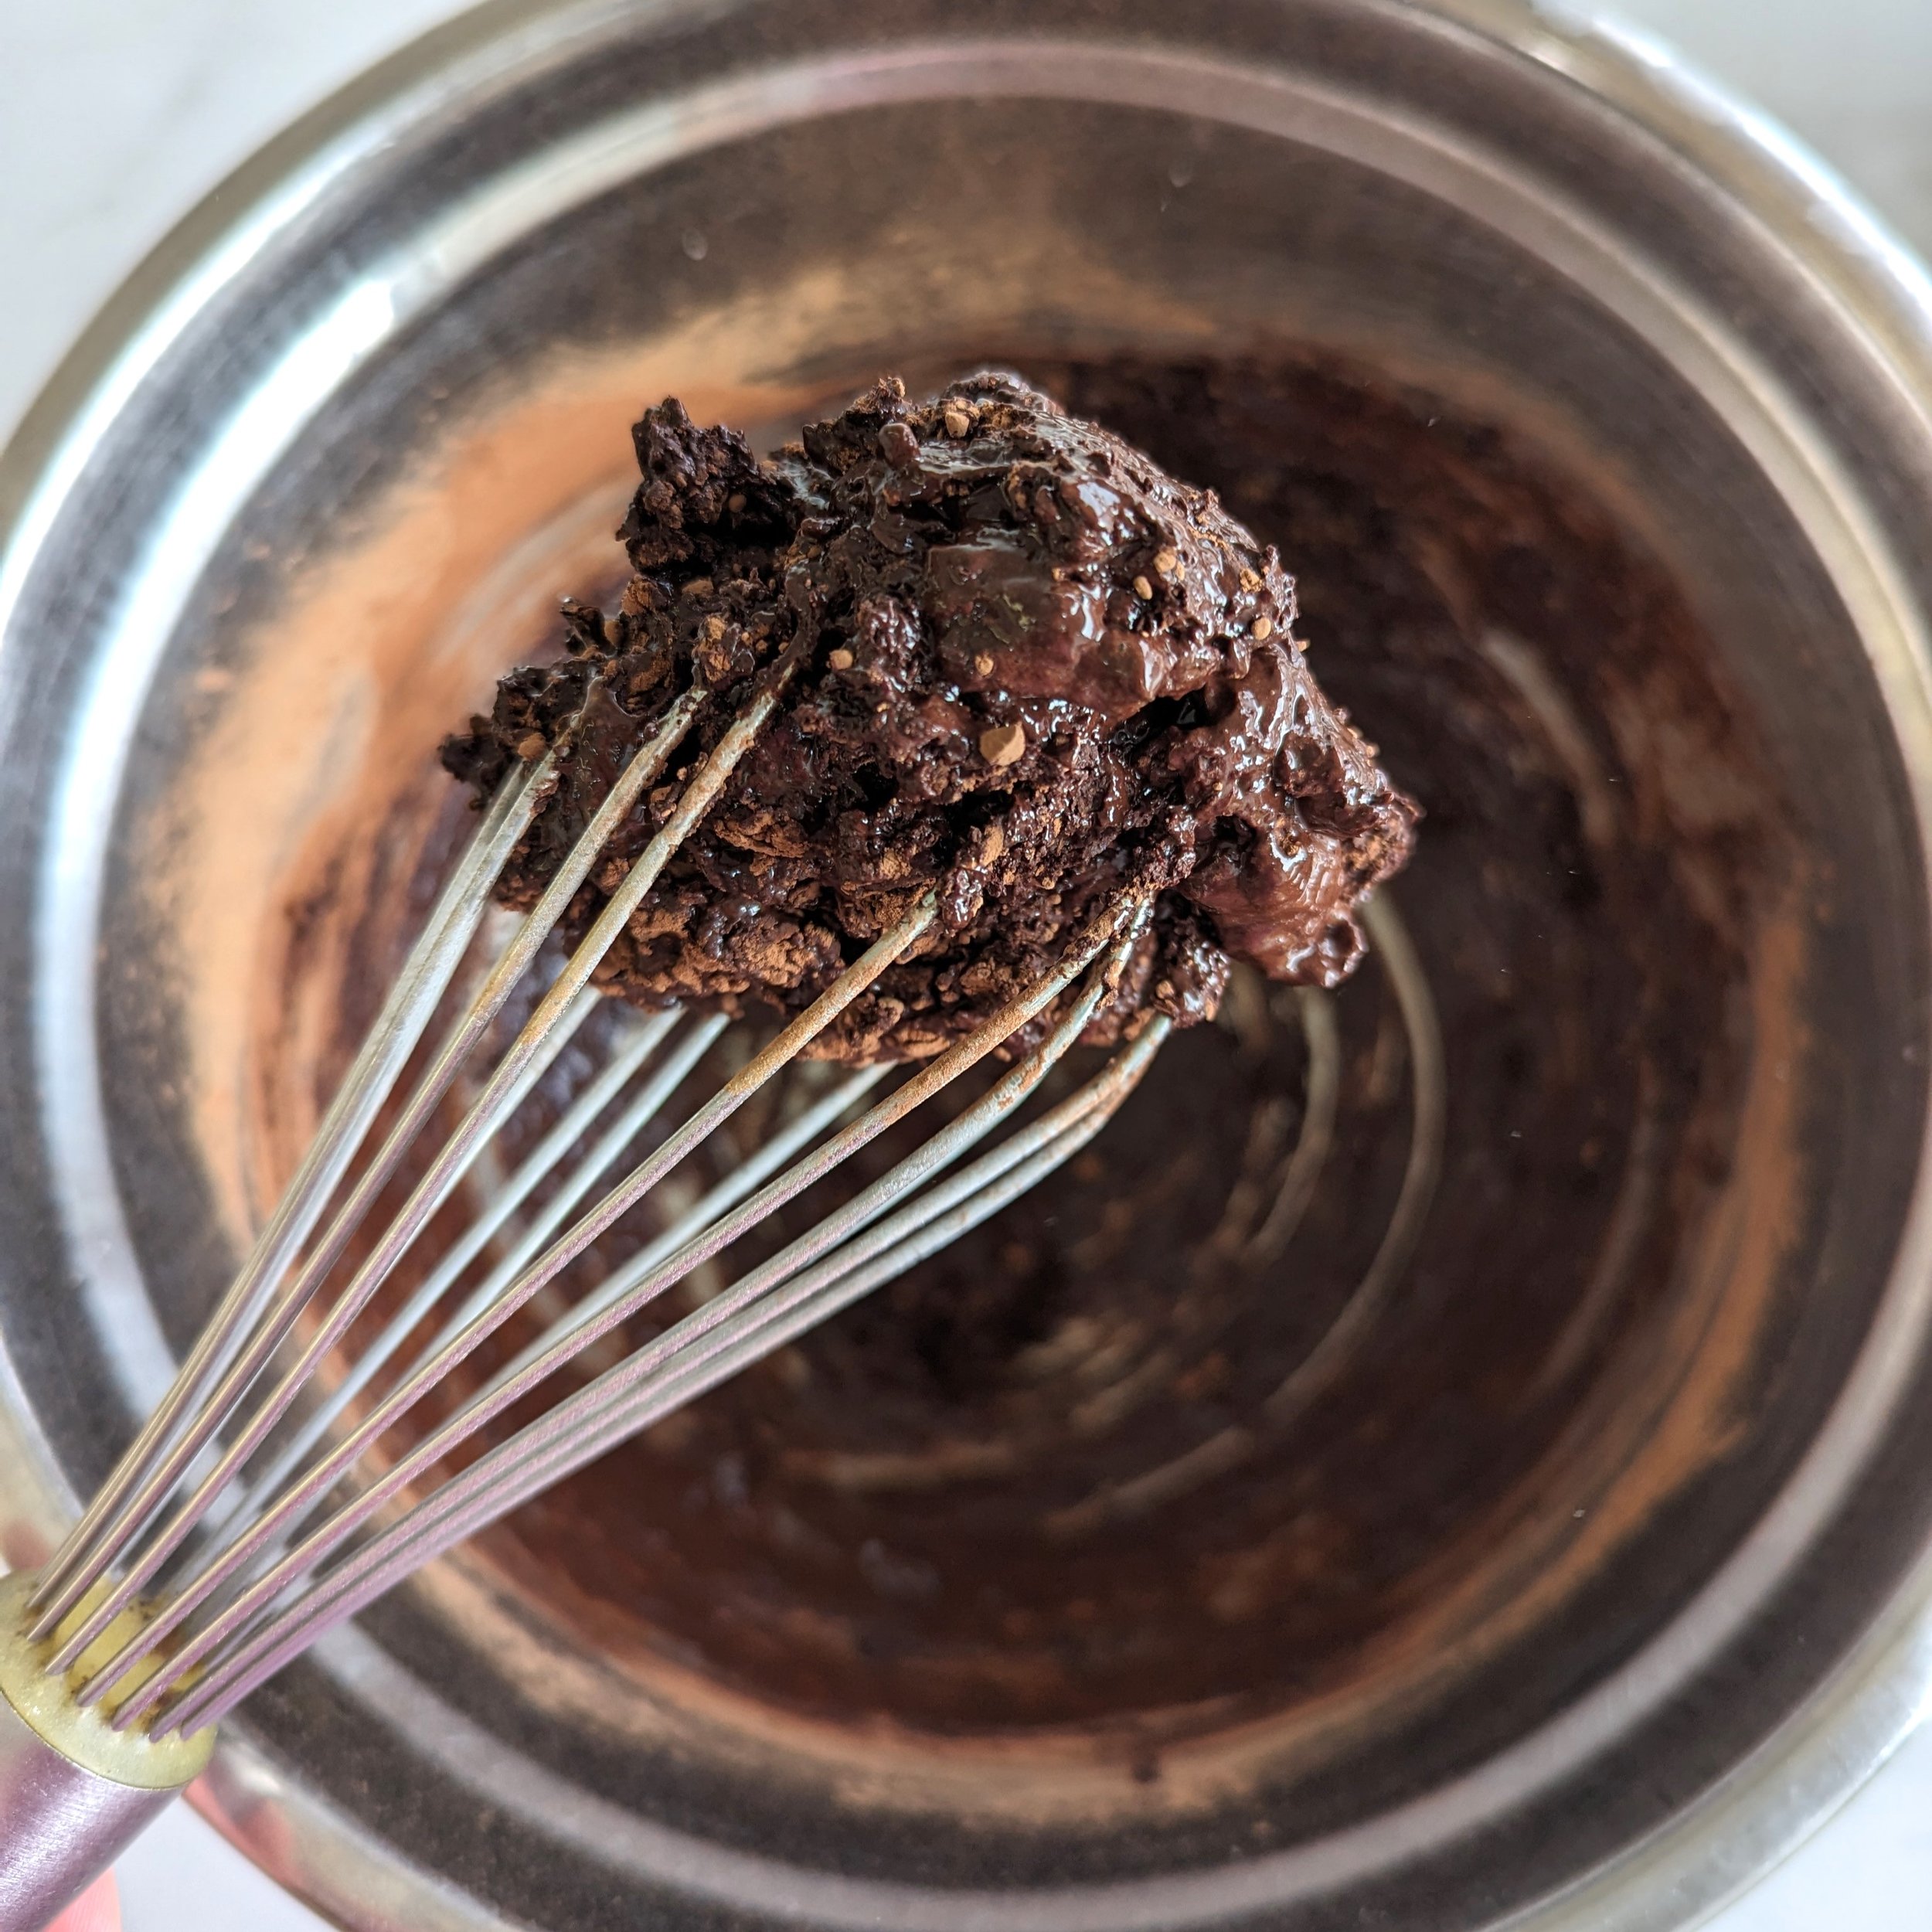
In a medium sized mixing bowl, add your eggs, cocoa powder, salt, espresso powder, and vanilla and whisk together. It will probably all clump up in your whisk and won’t be smooth, but that’s ok!
In a microwave safe bowl, add your butter and sugar. Microwave for 1 minute at a time, stirring after each round, until all butter is melted and the mixture is HOT.
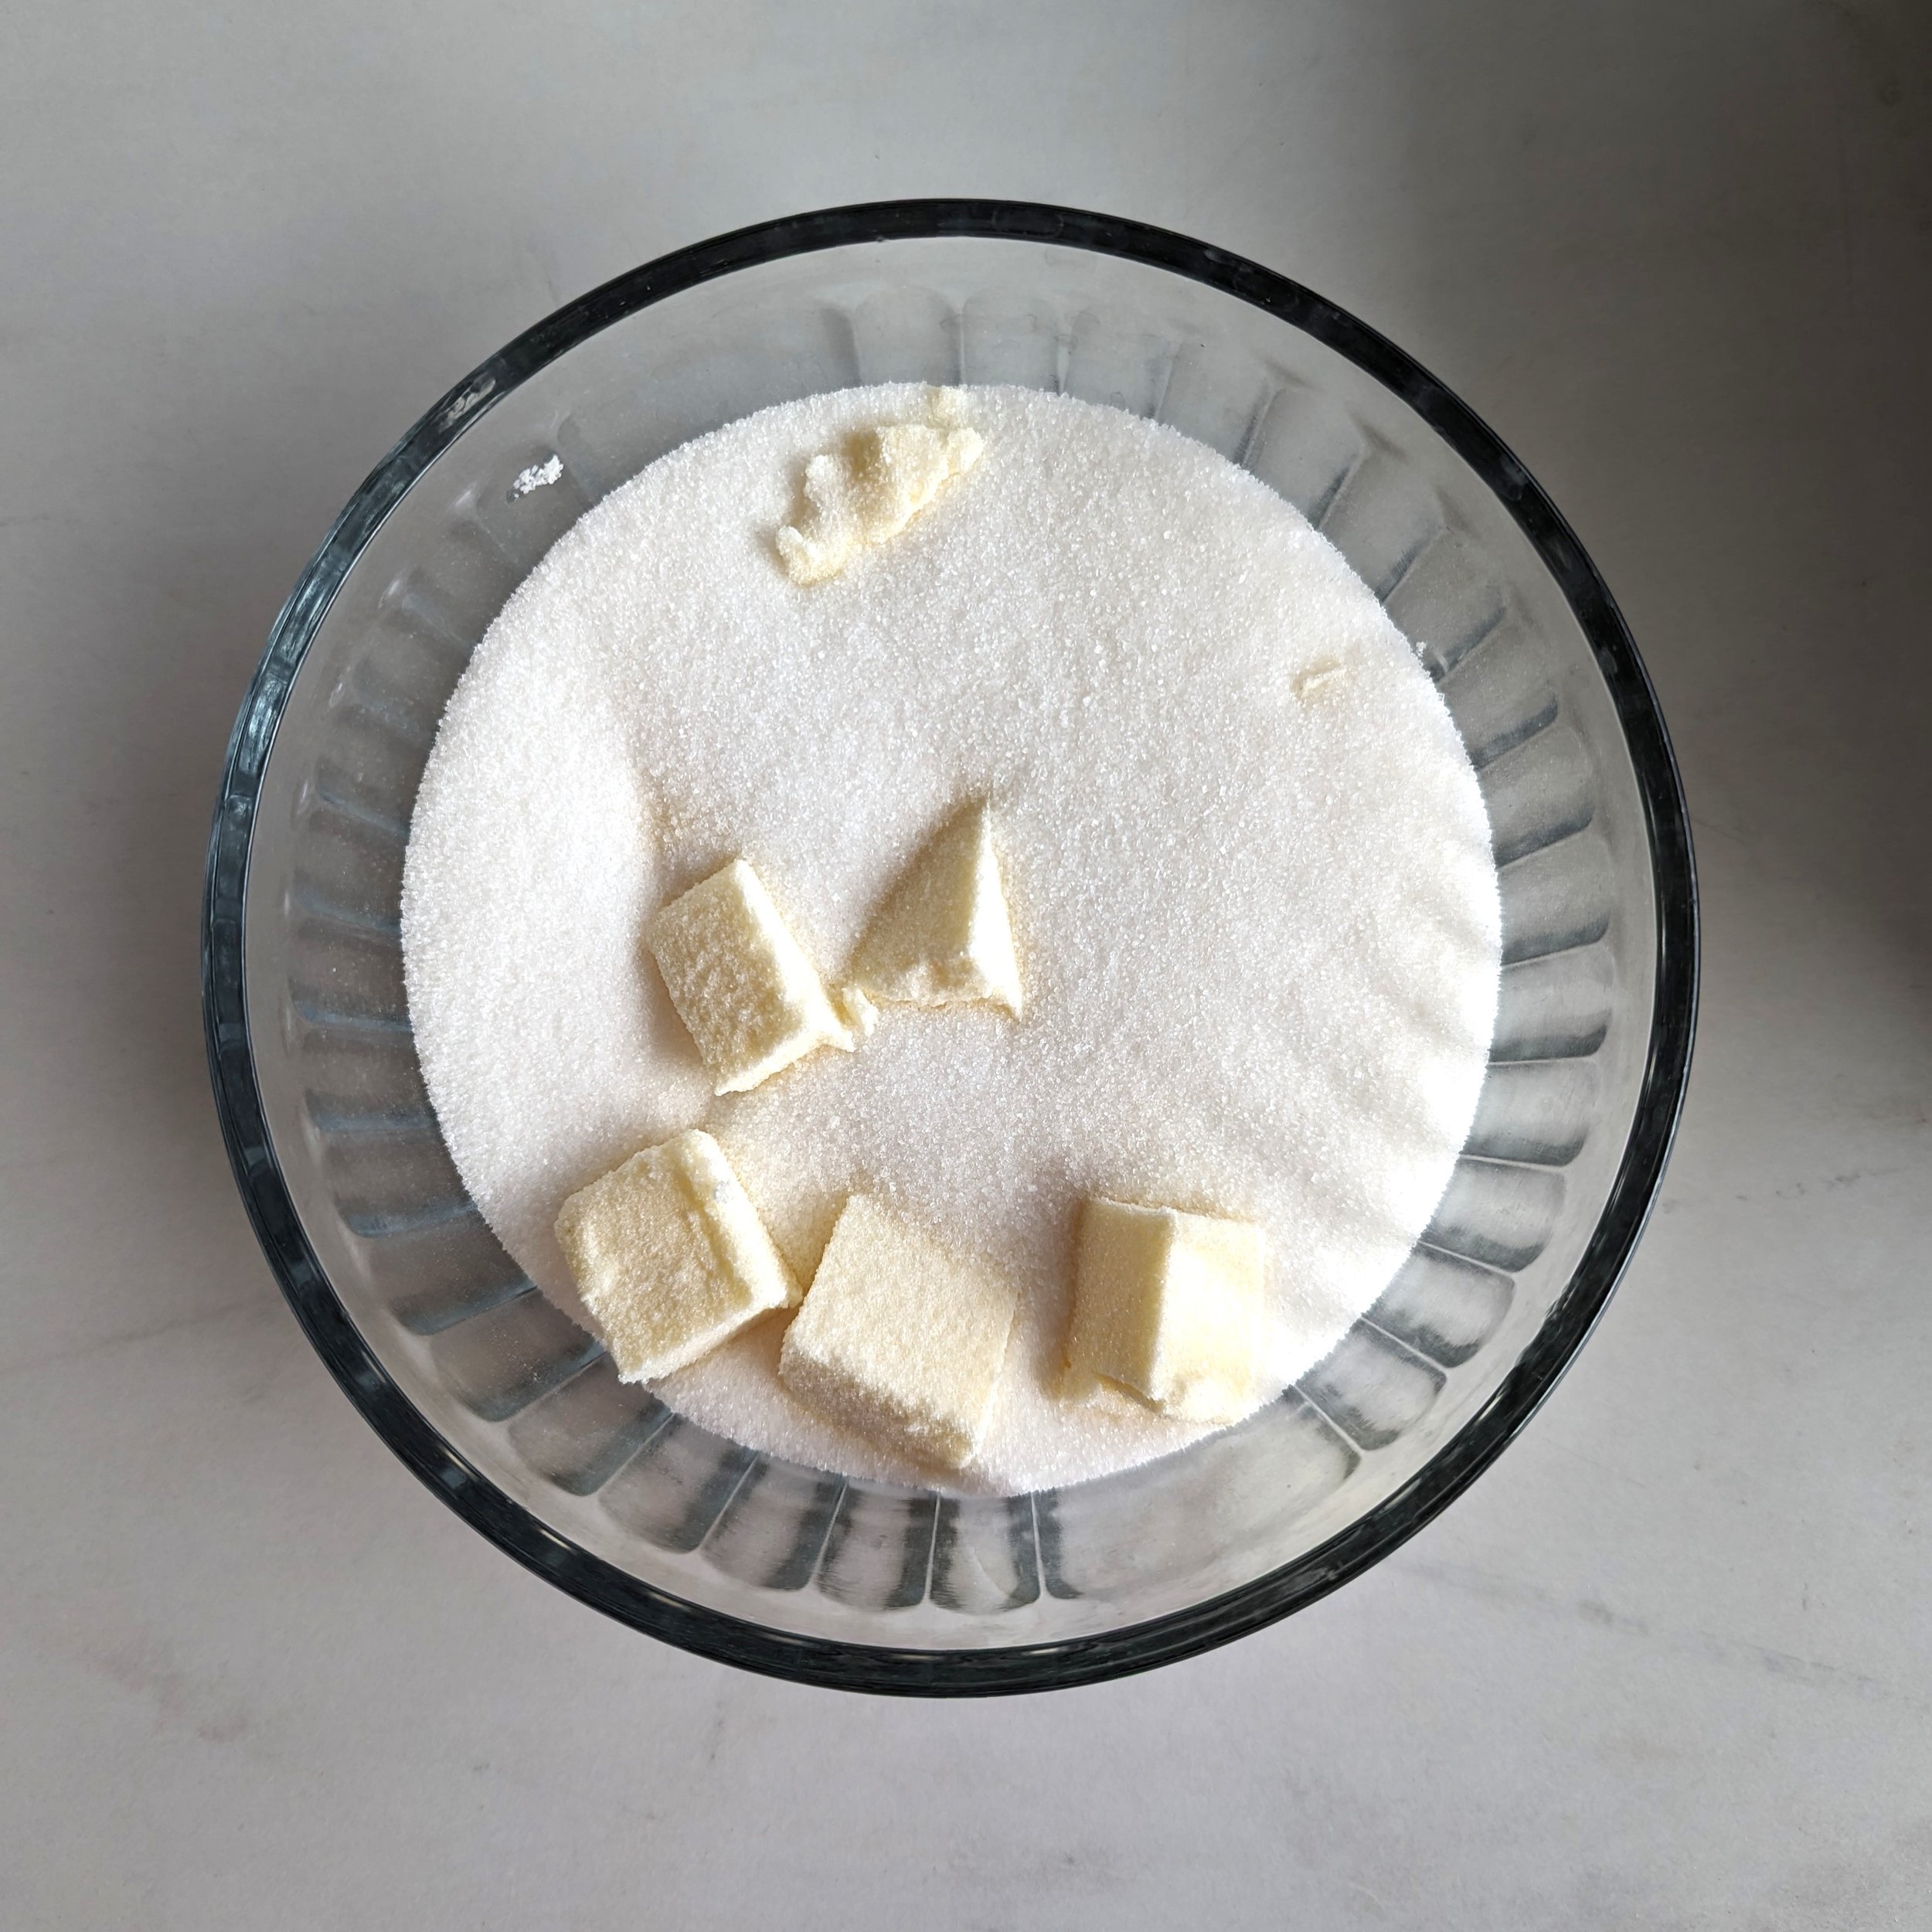
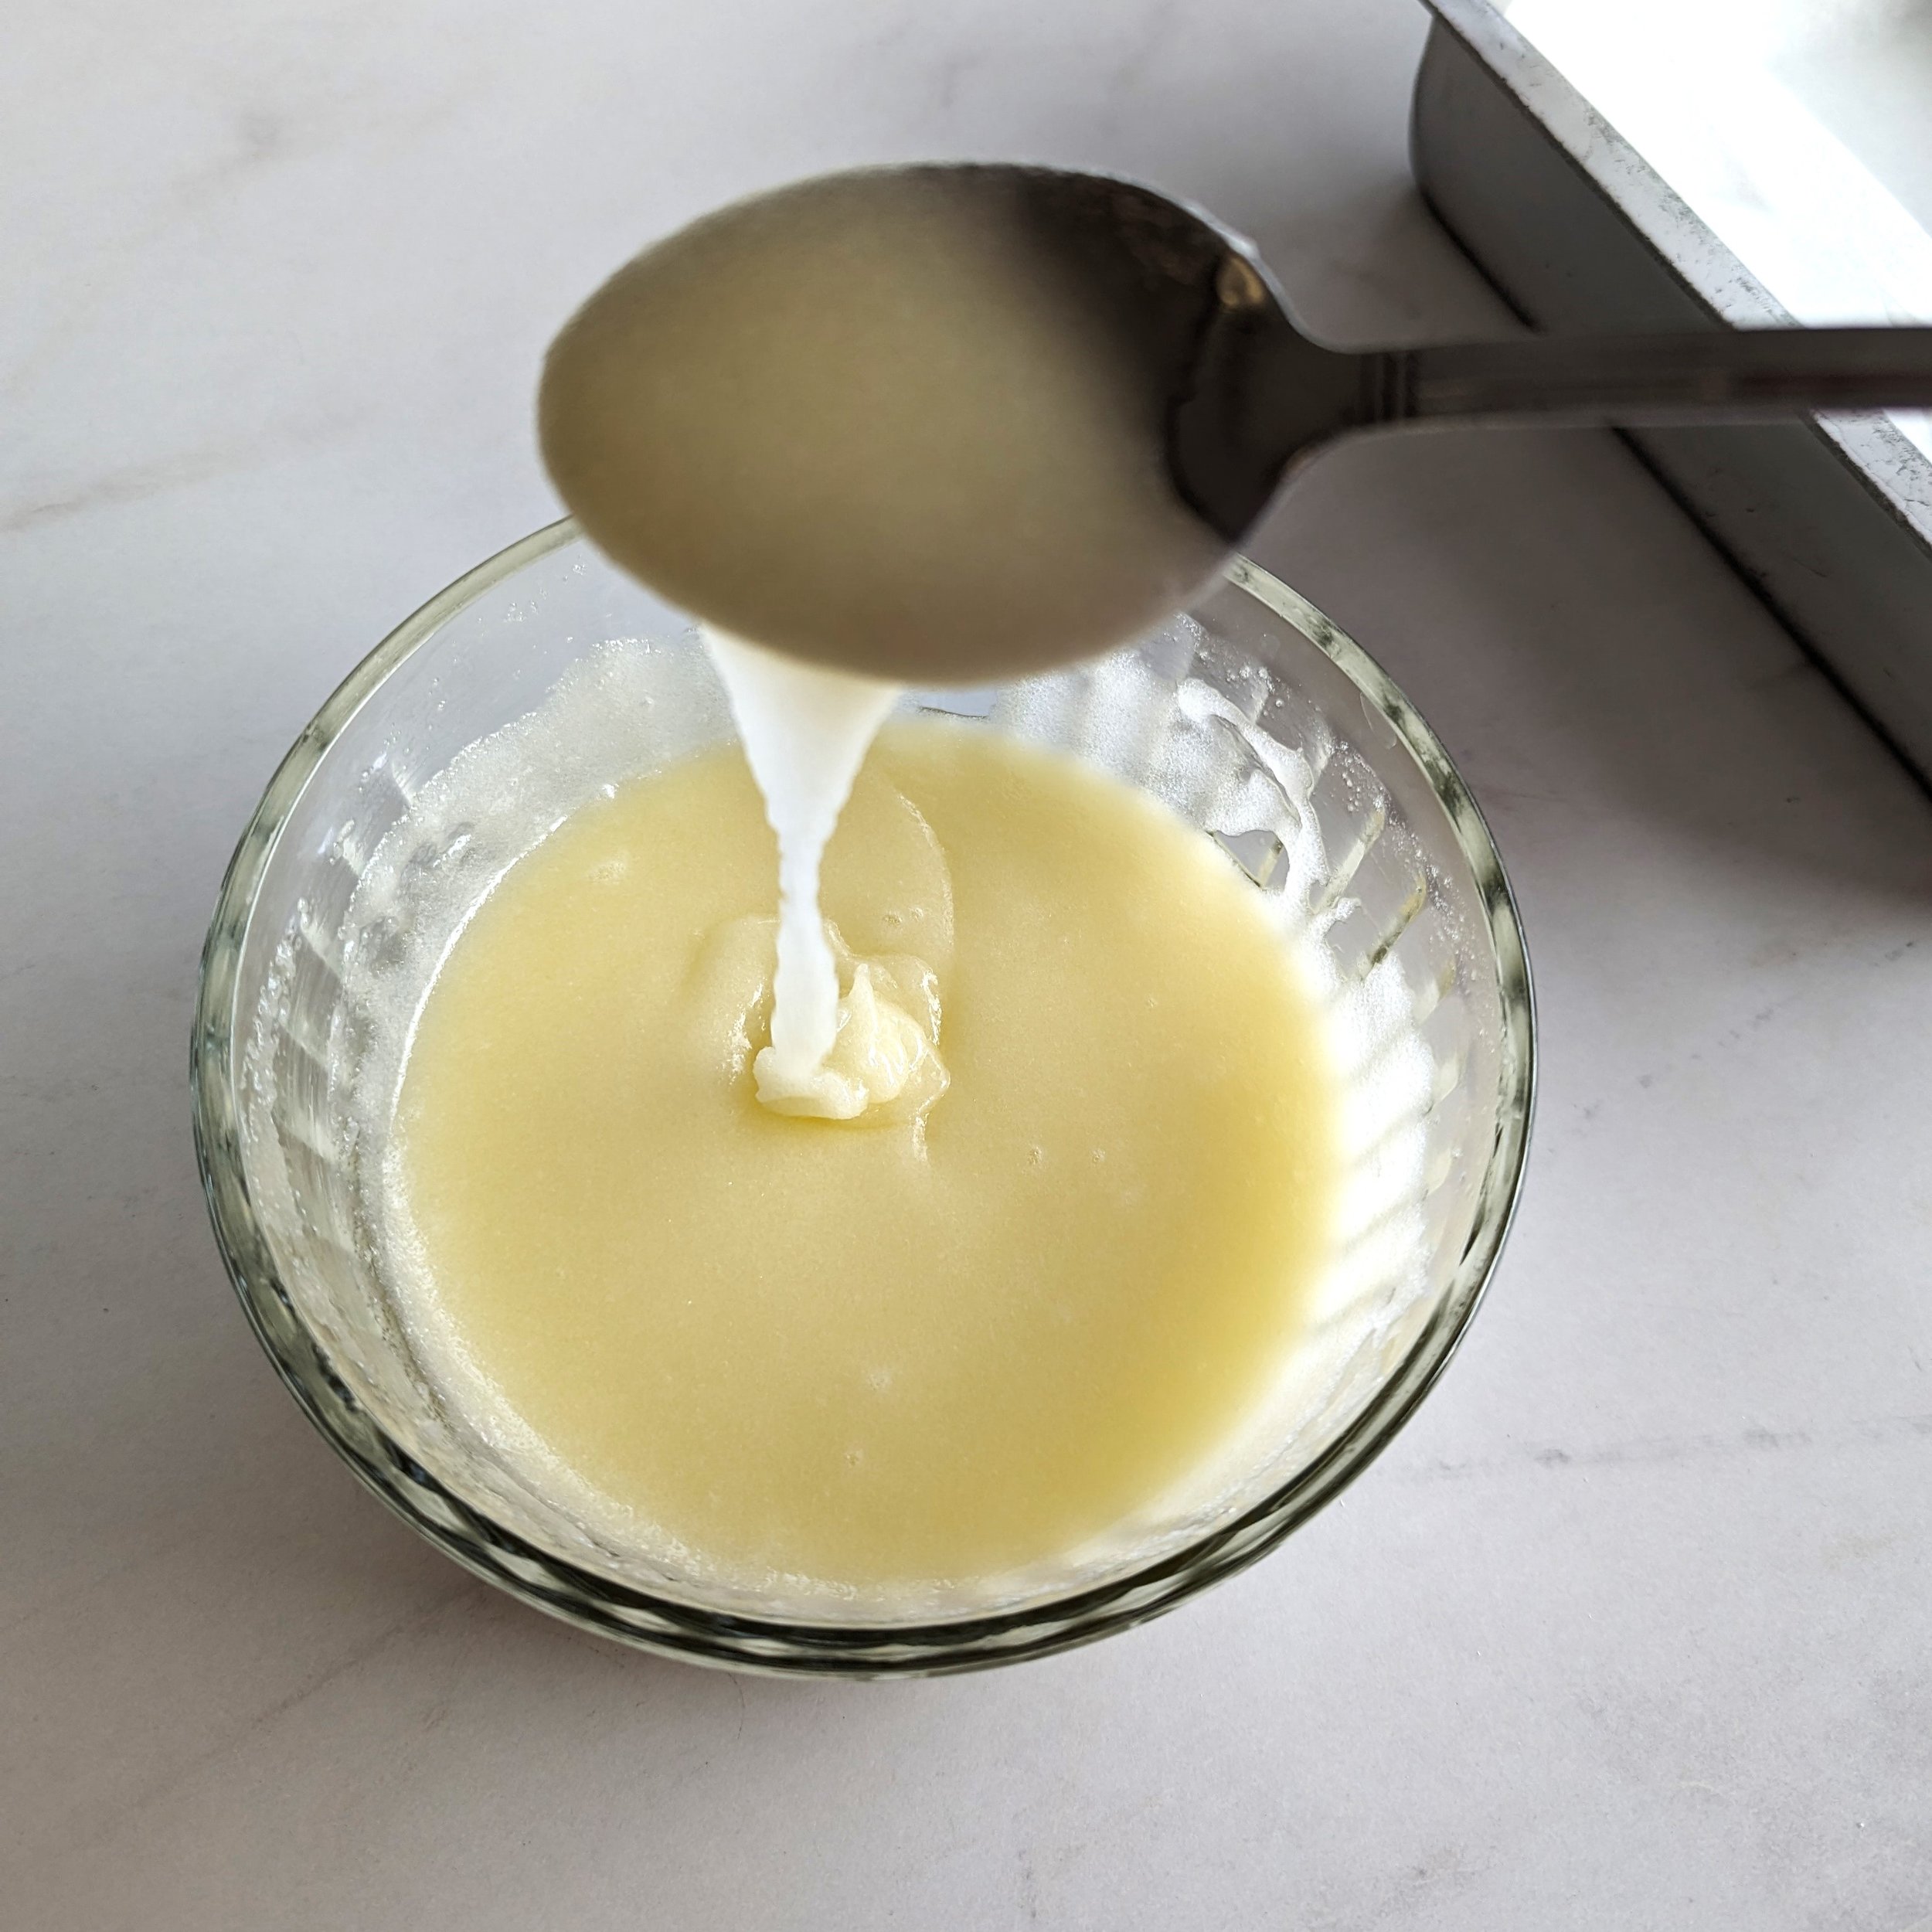
Work quickly now because you want your batter to stay warm. This is how you get that pretty shiny top on your brownies.
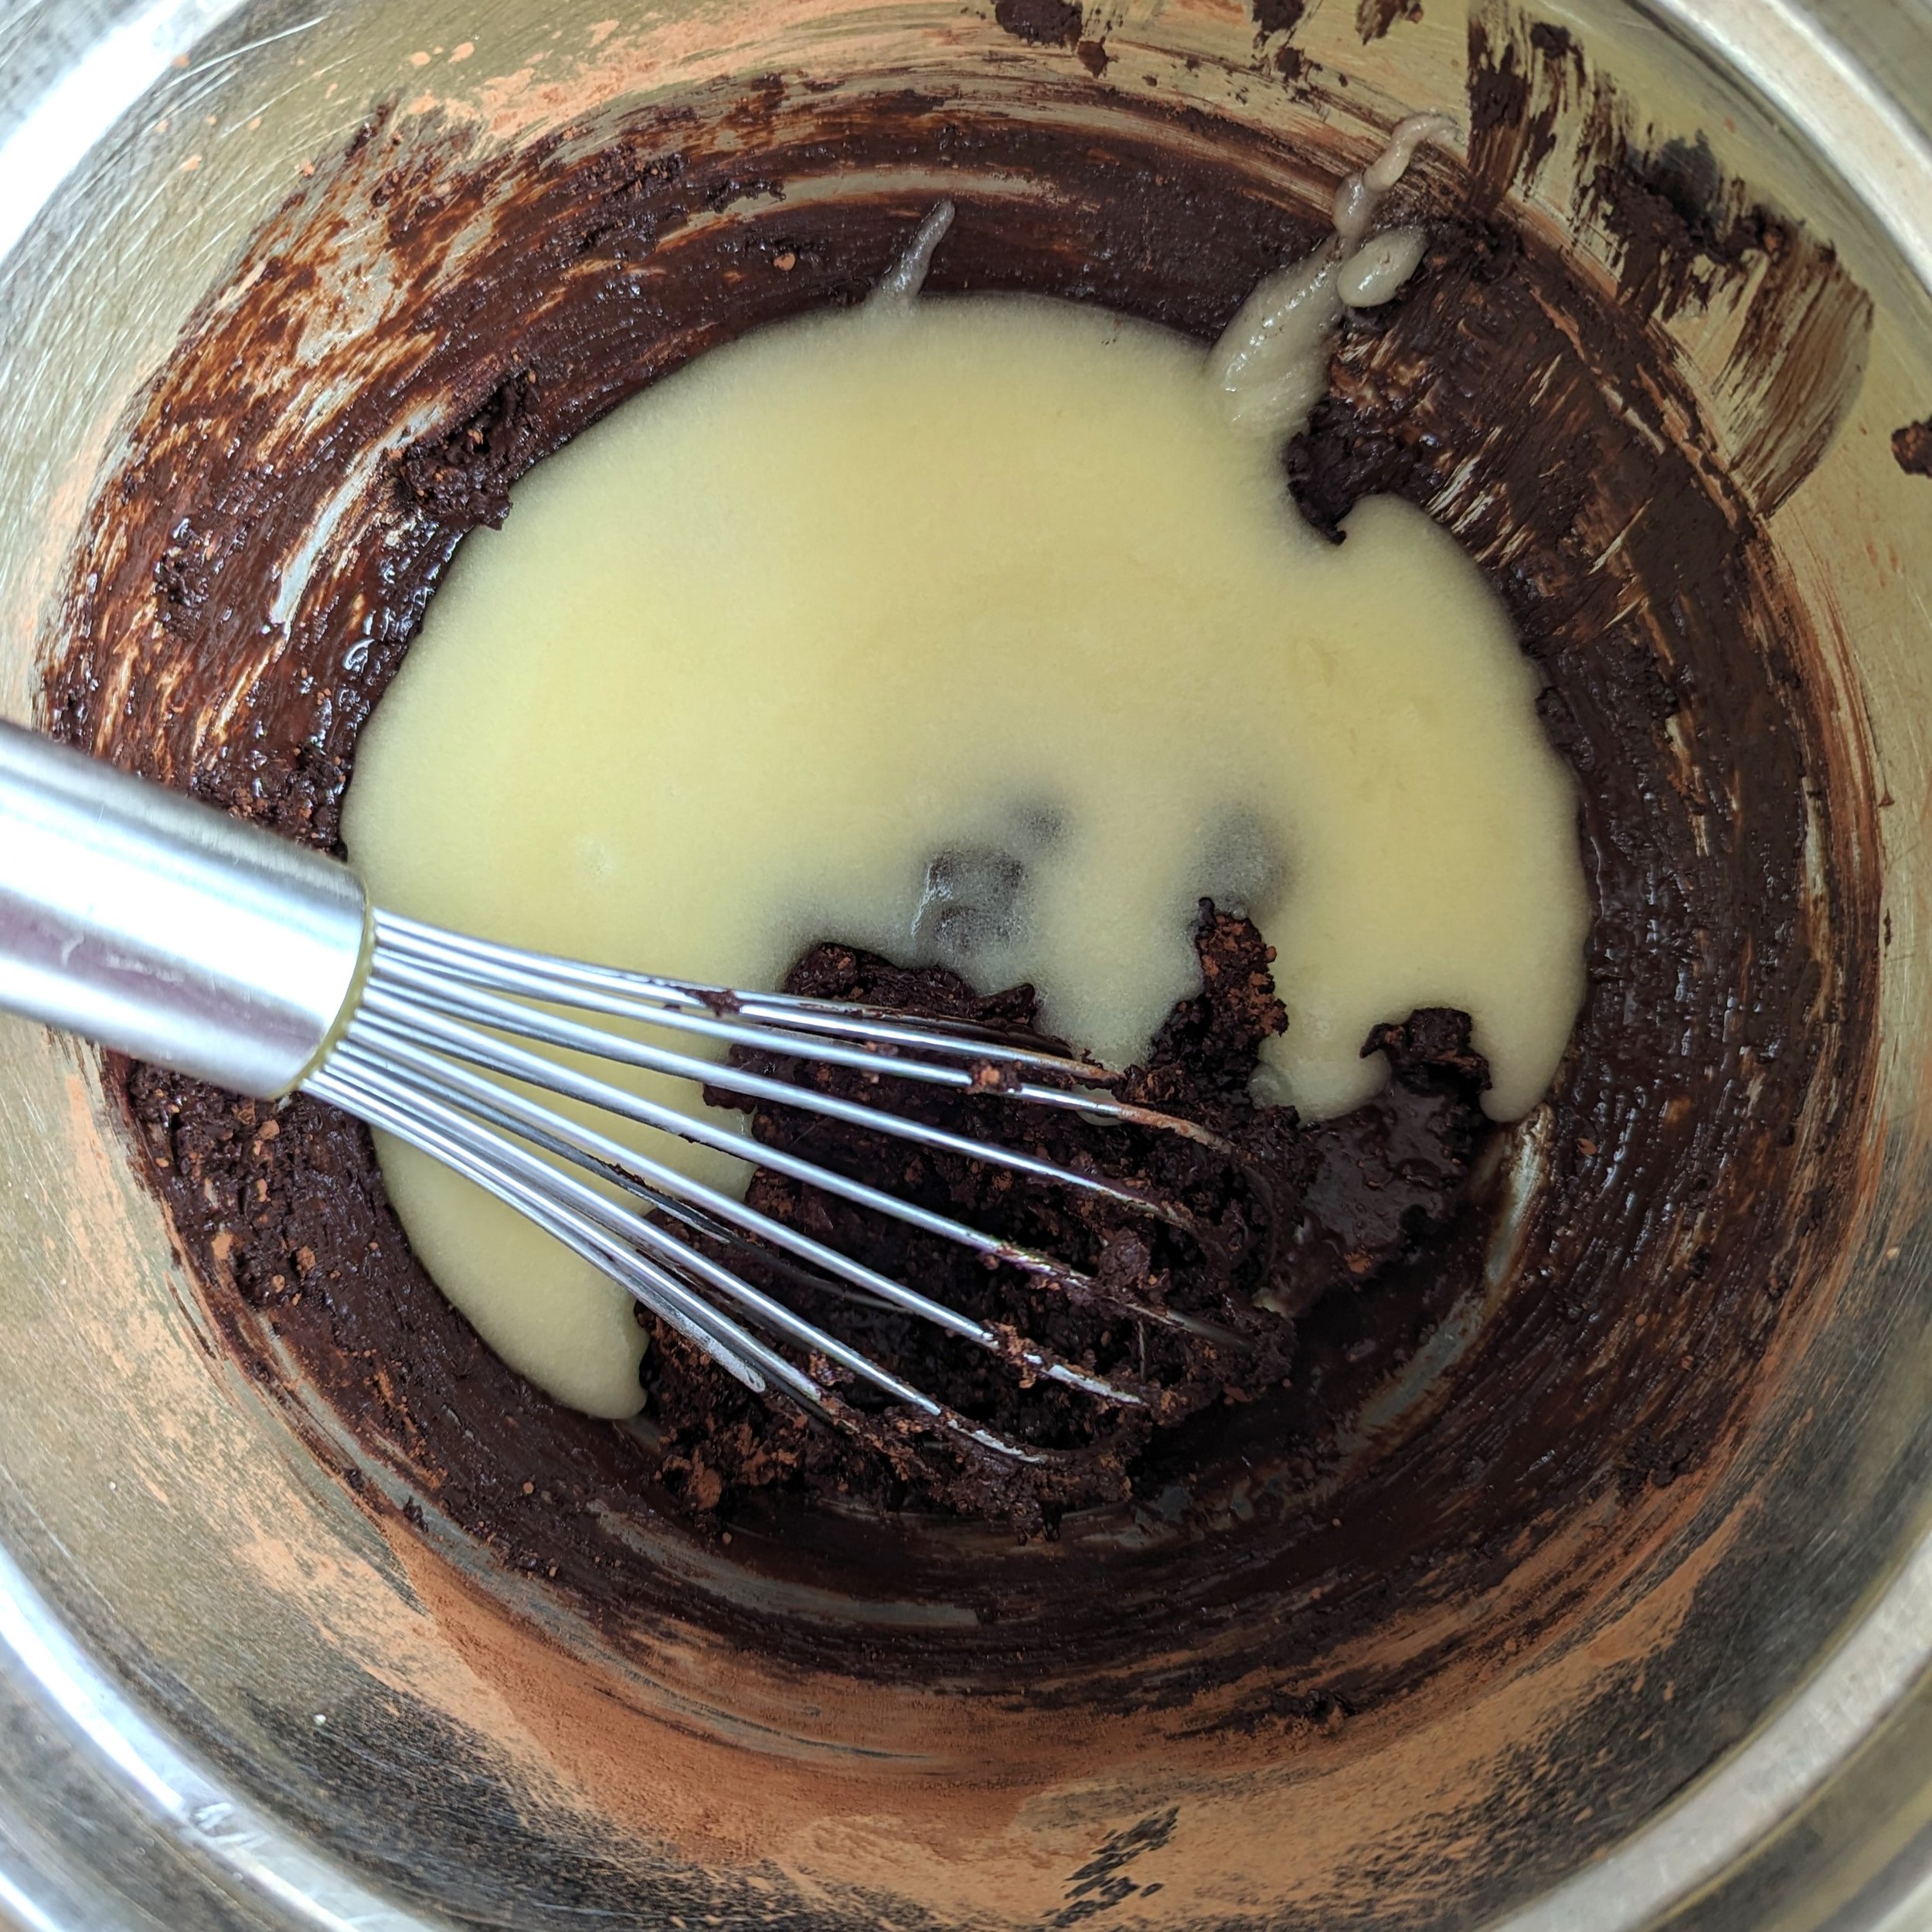
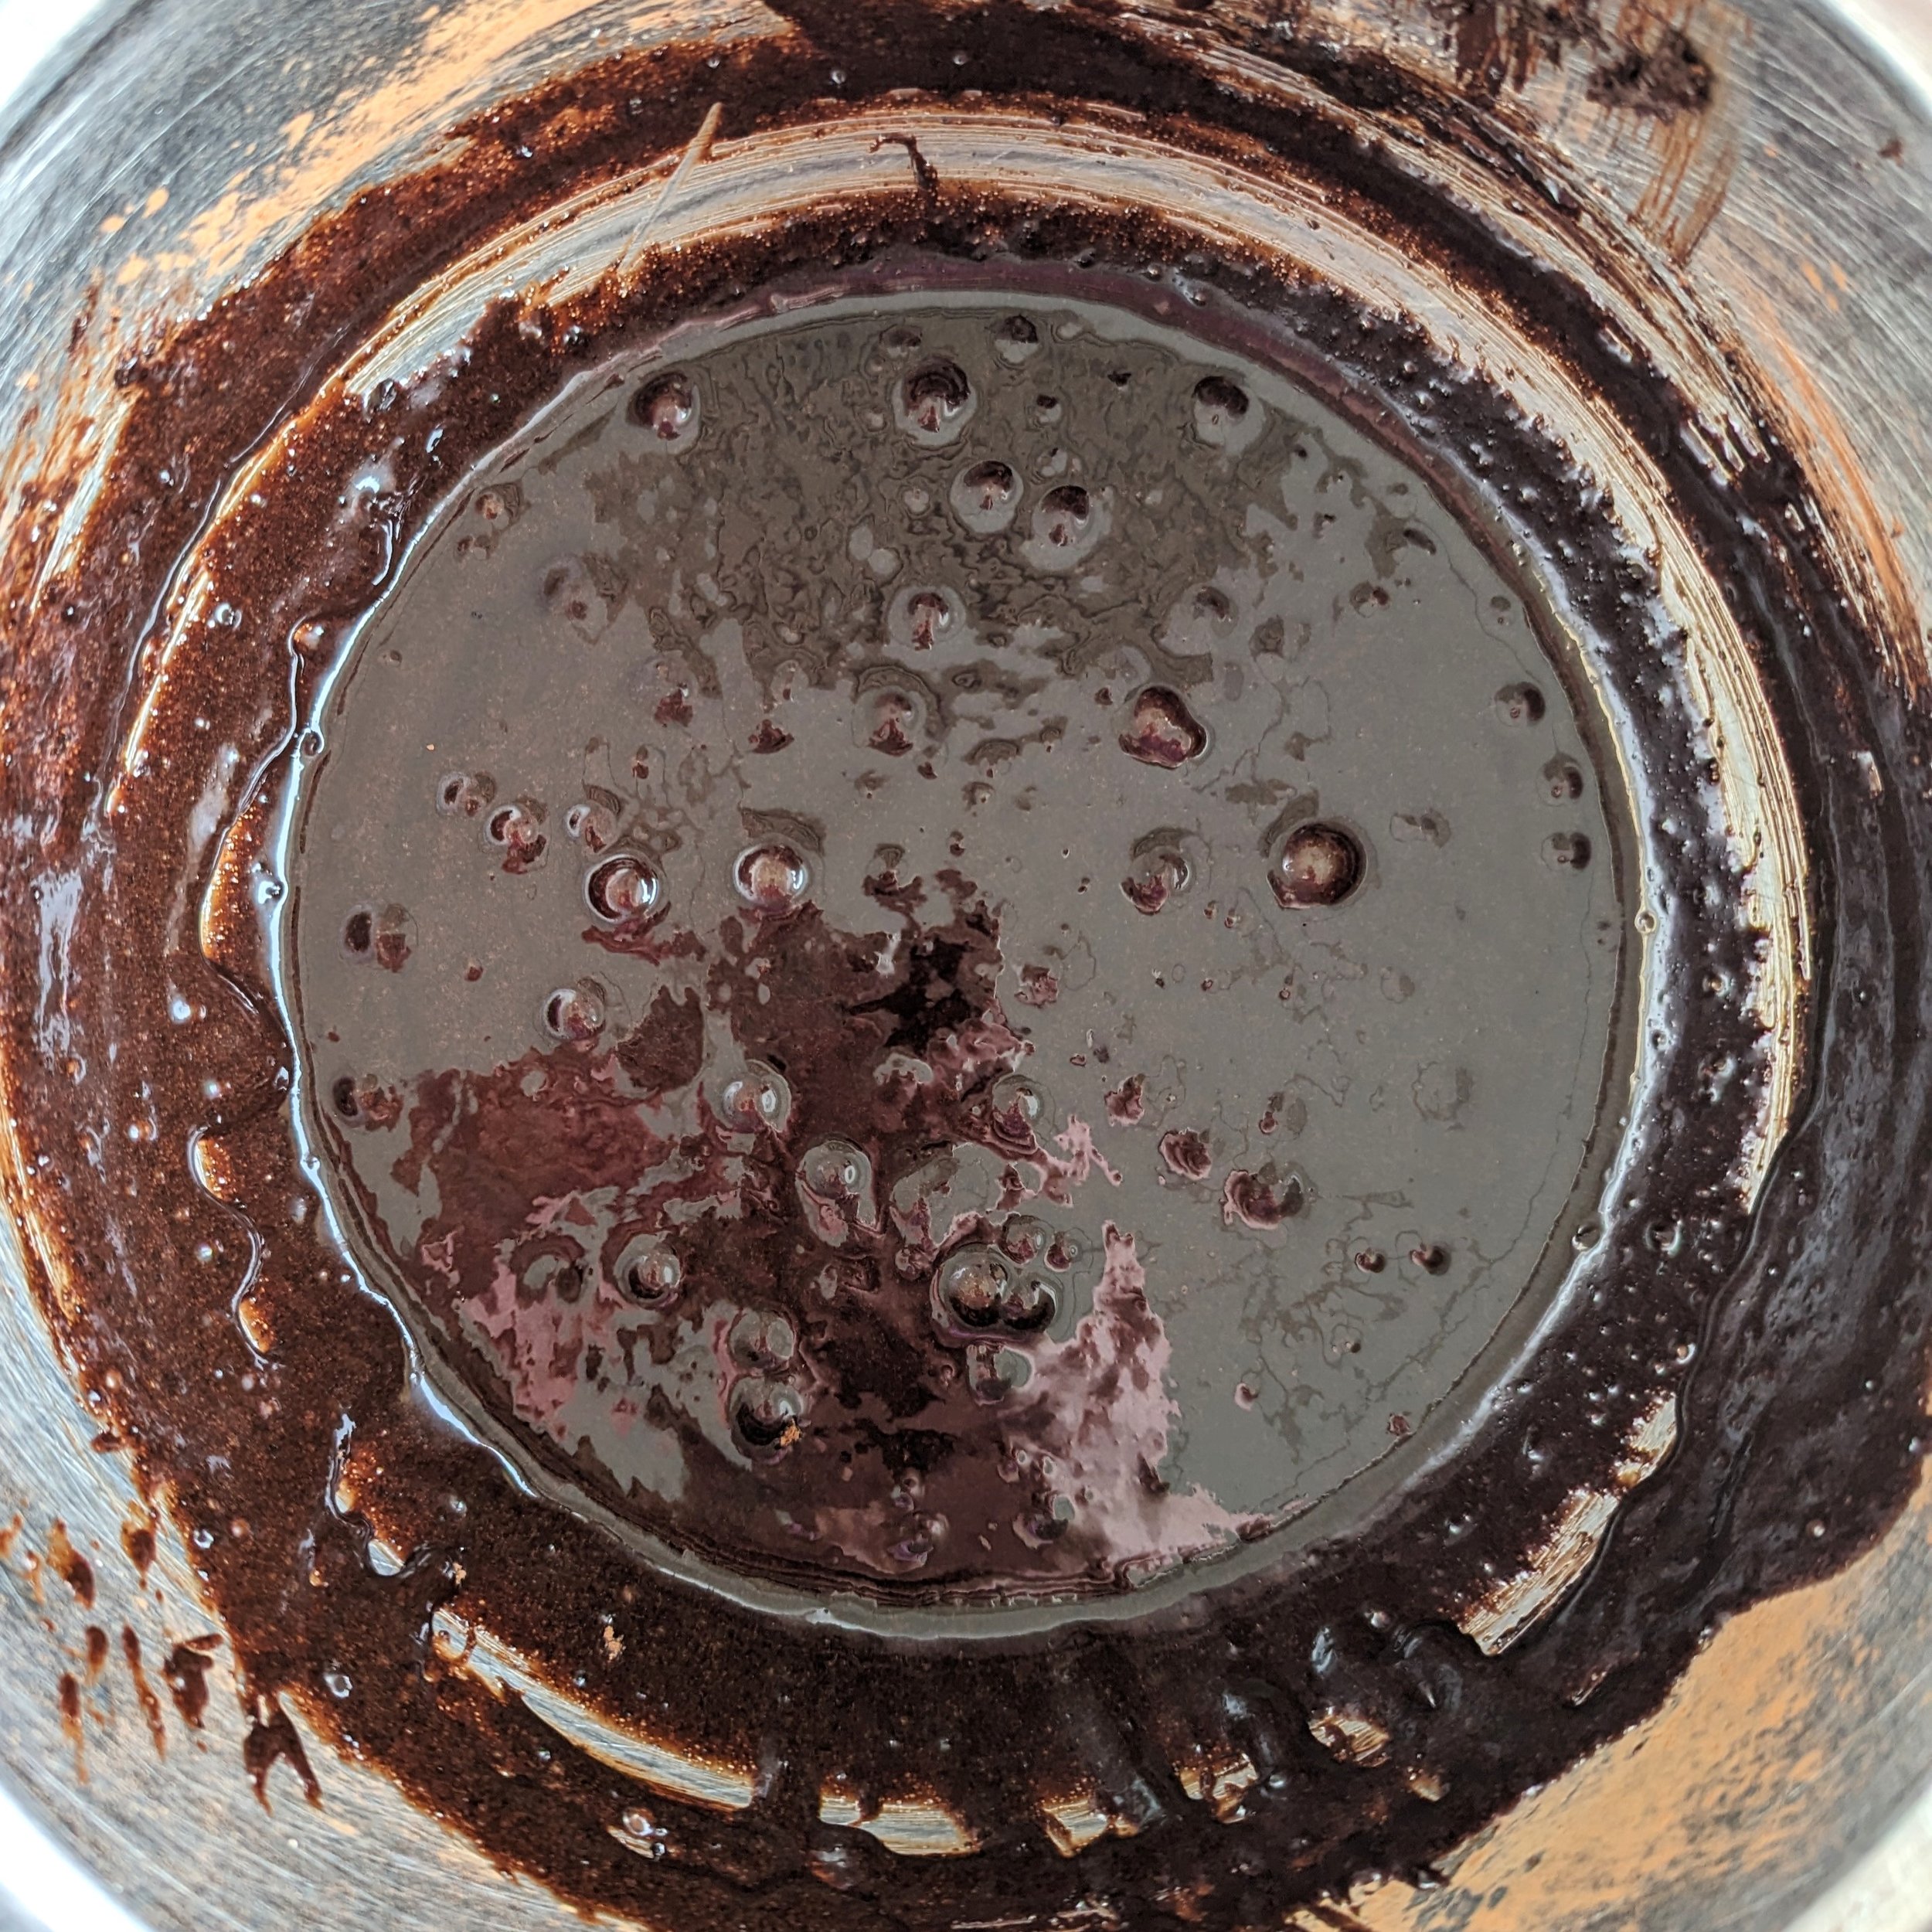
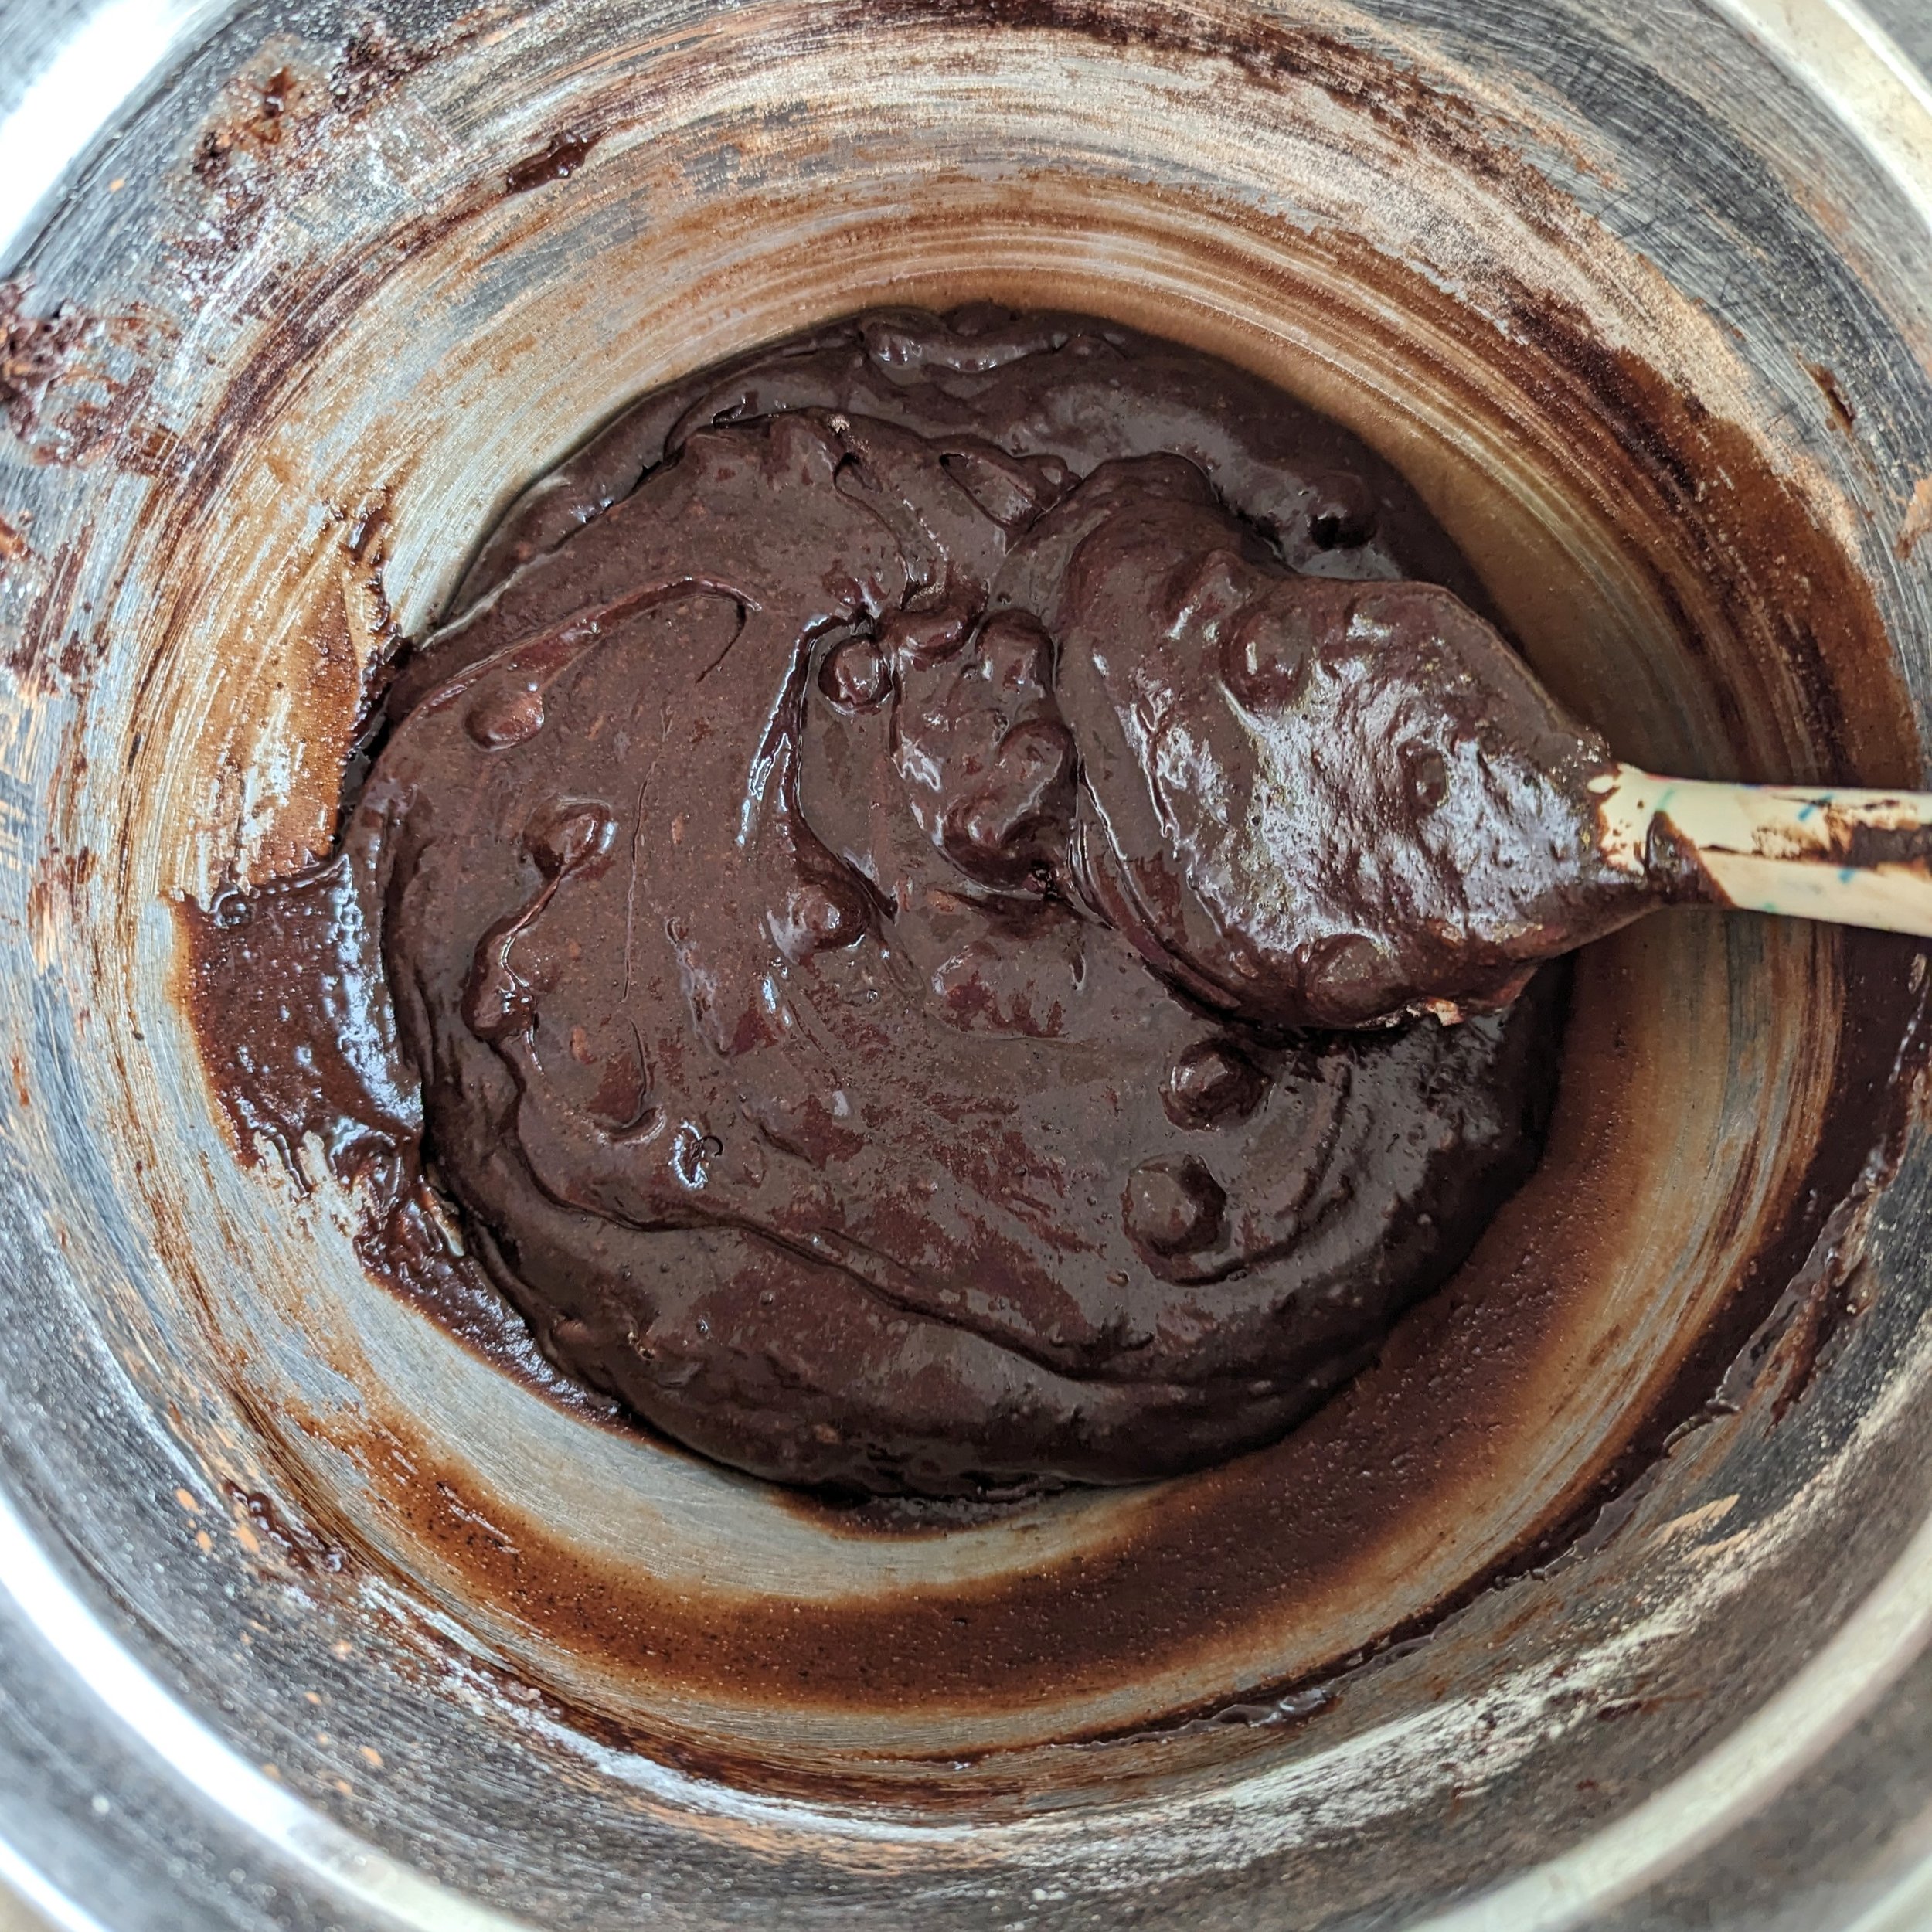
Add your butter/sugar mixture to your chocolatey egg mixture and whisk until smooth. Use a spatula to get all the stuff out of your whisk if needed.
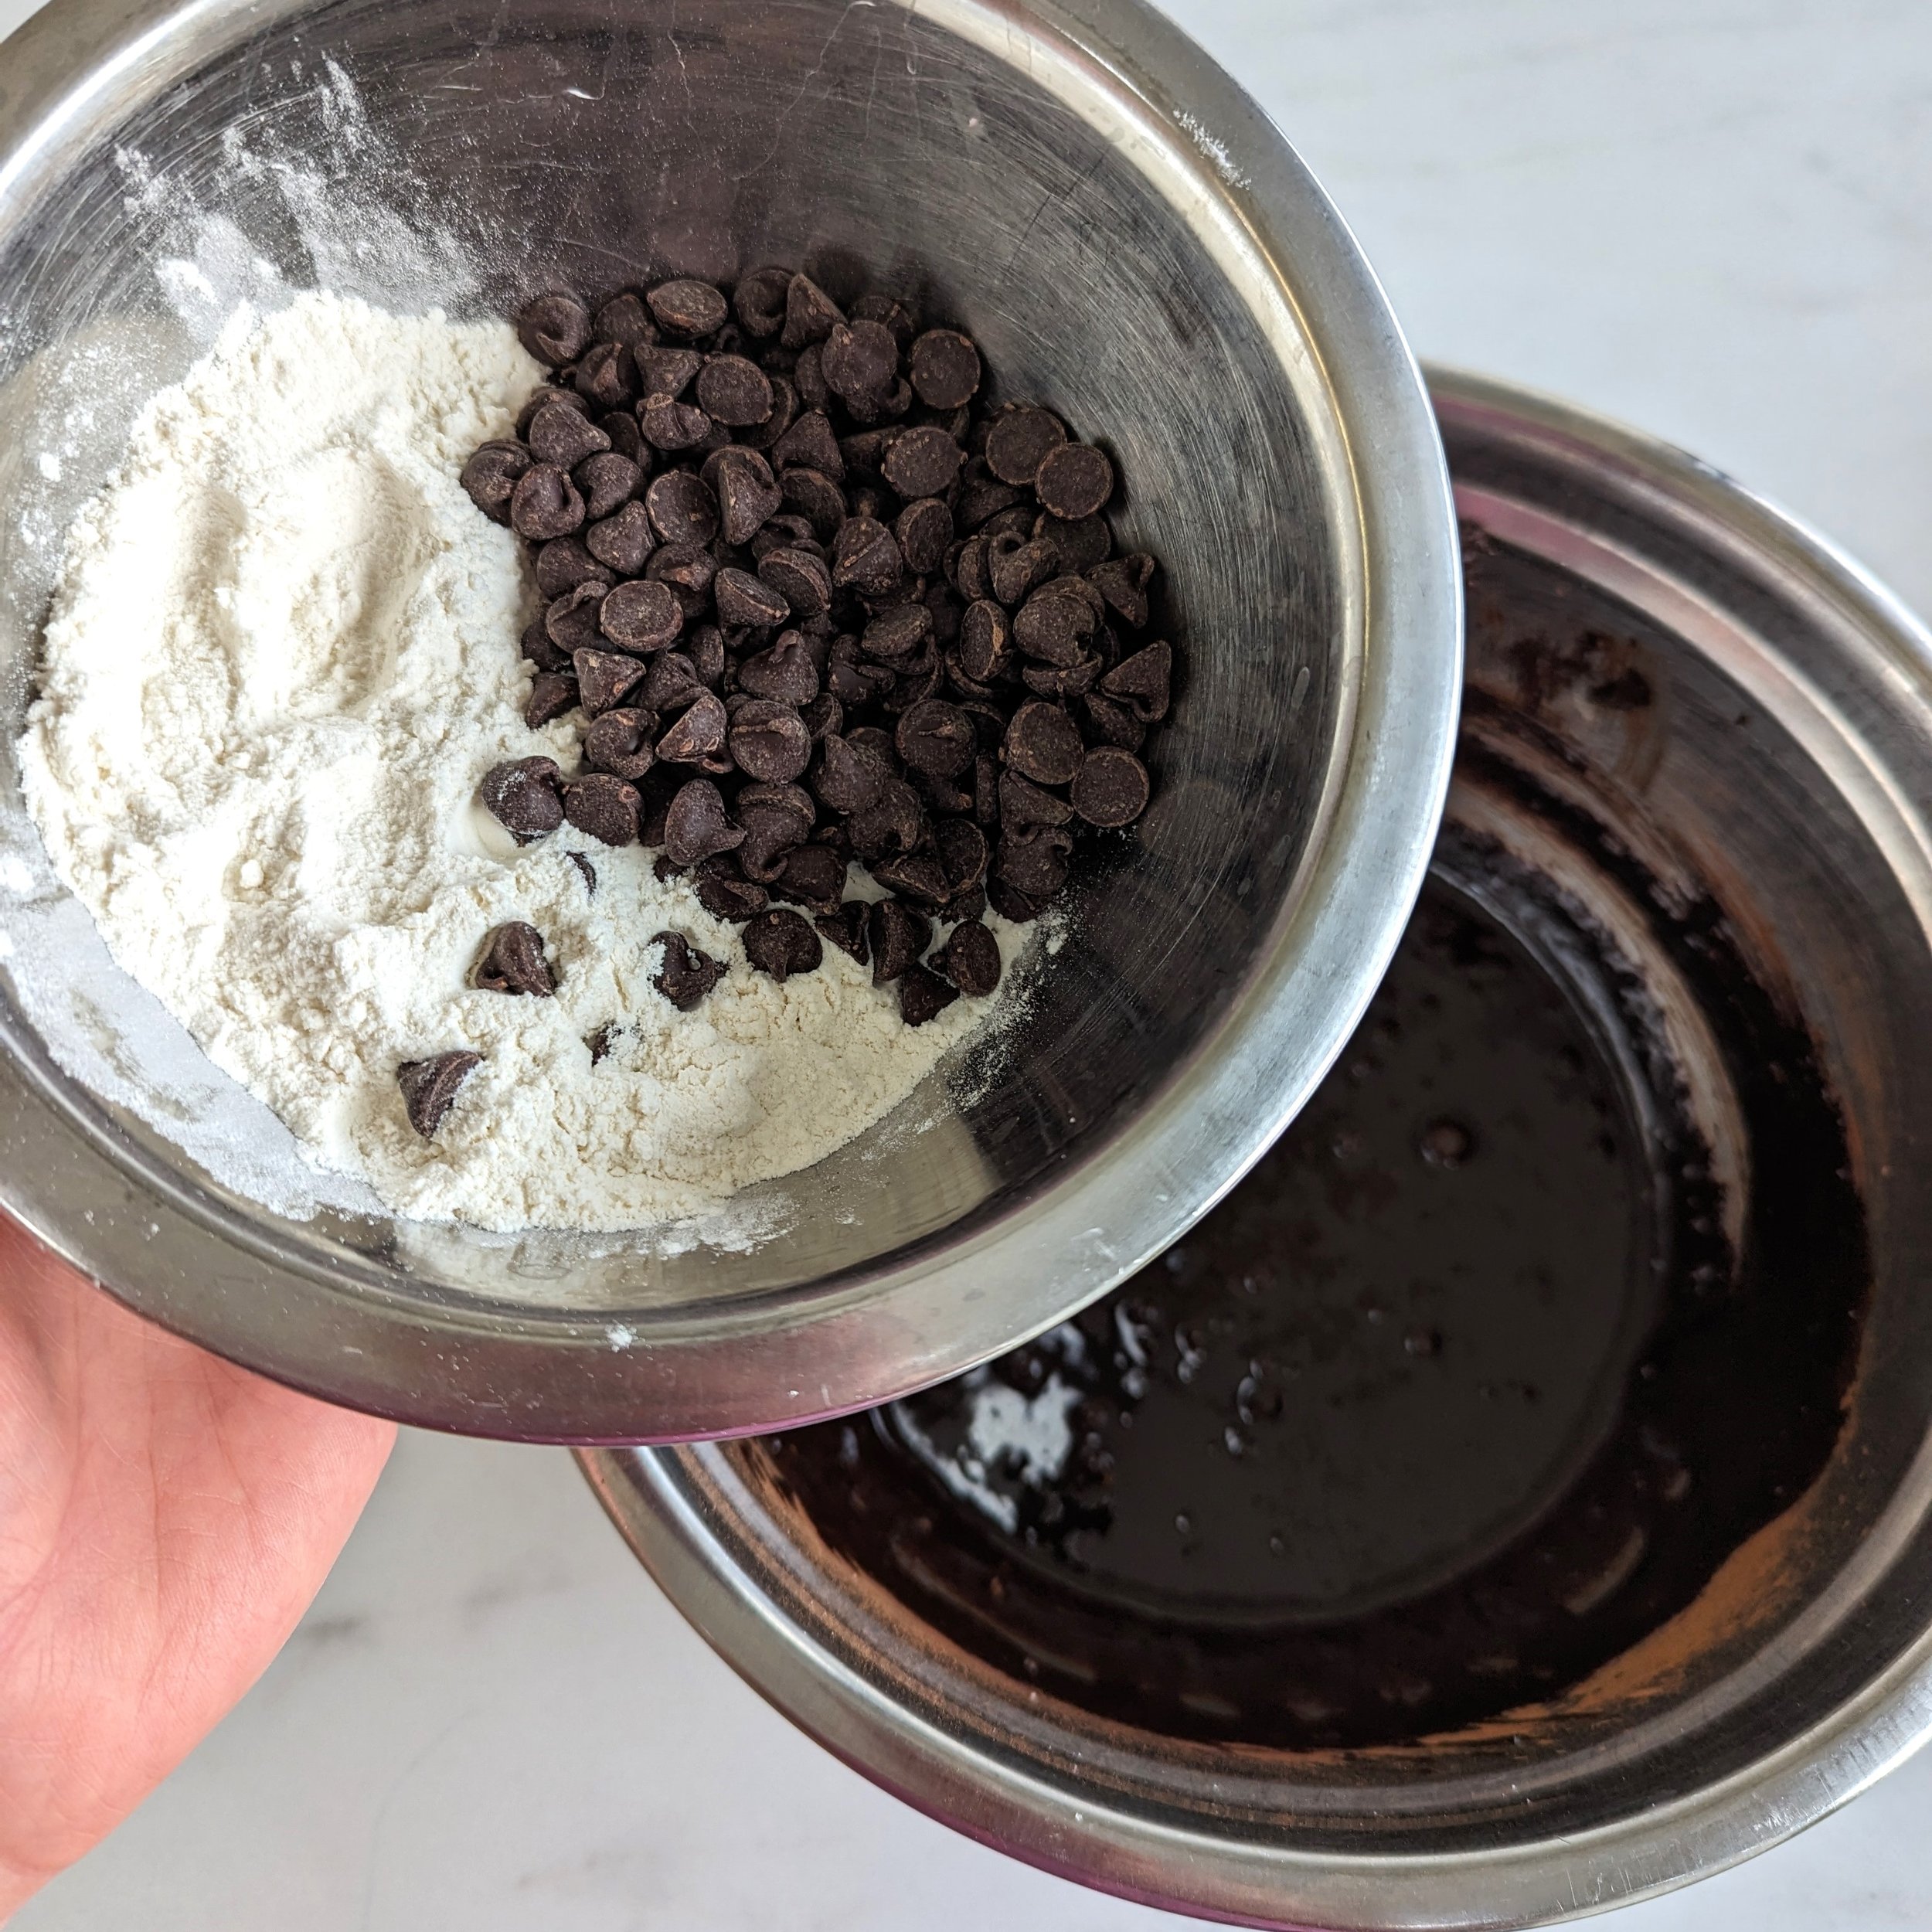
Add your flour and chocolate chips and mix gently with a spatula until smooth.
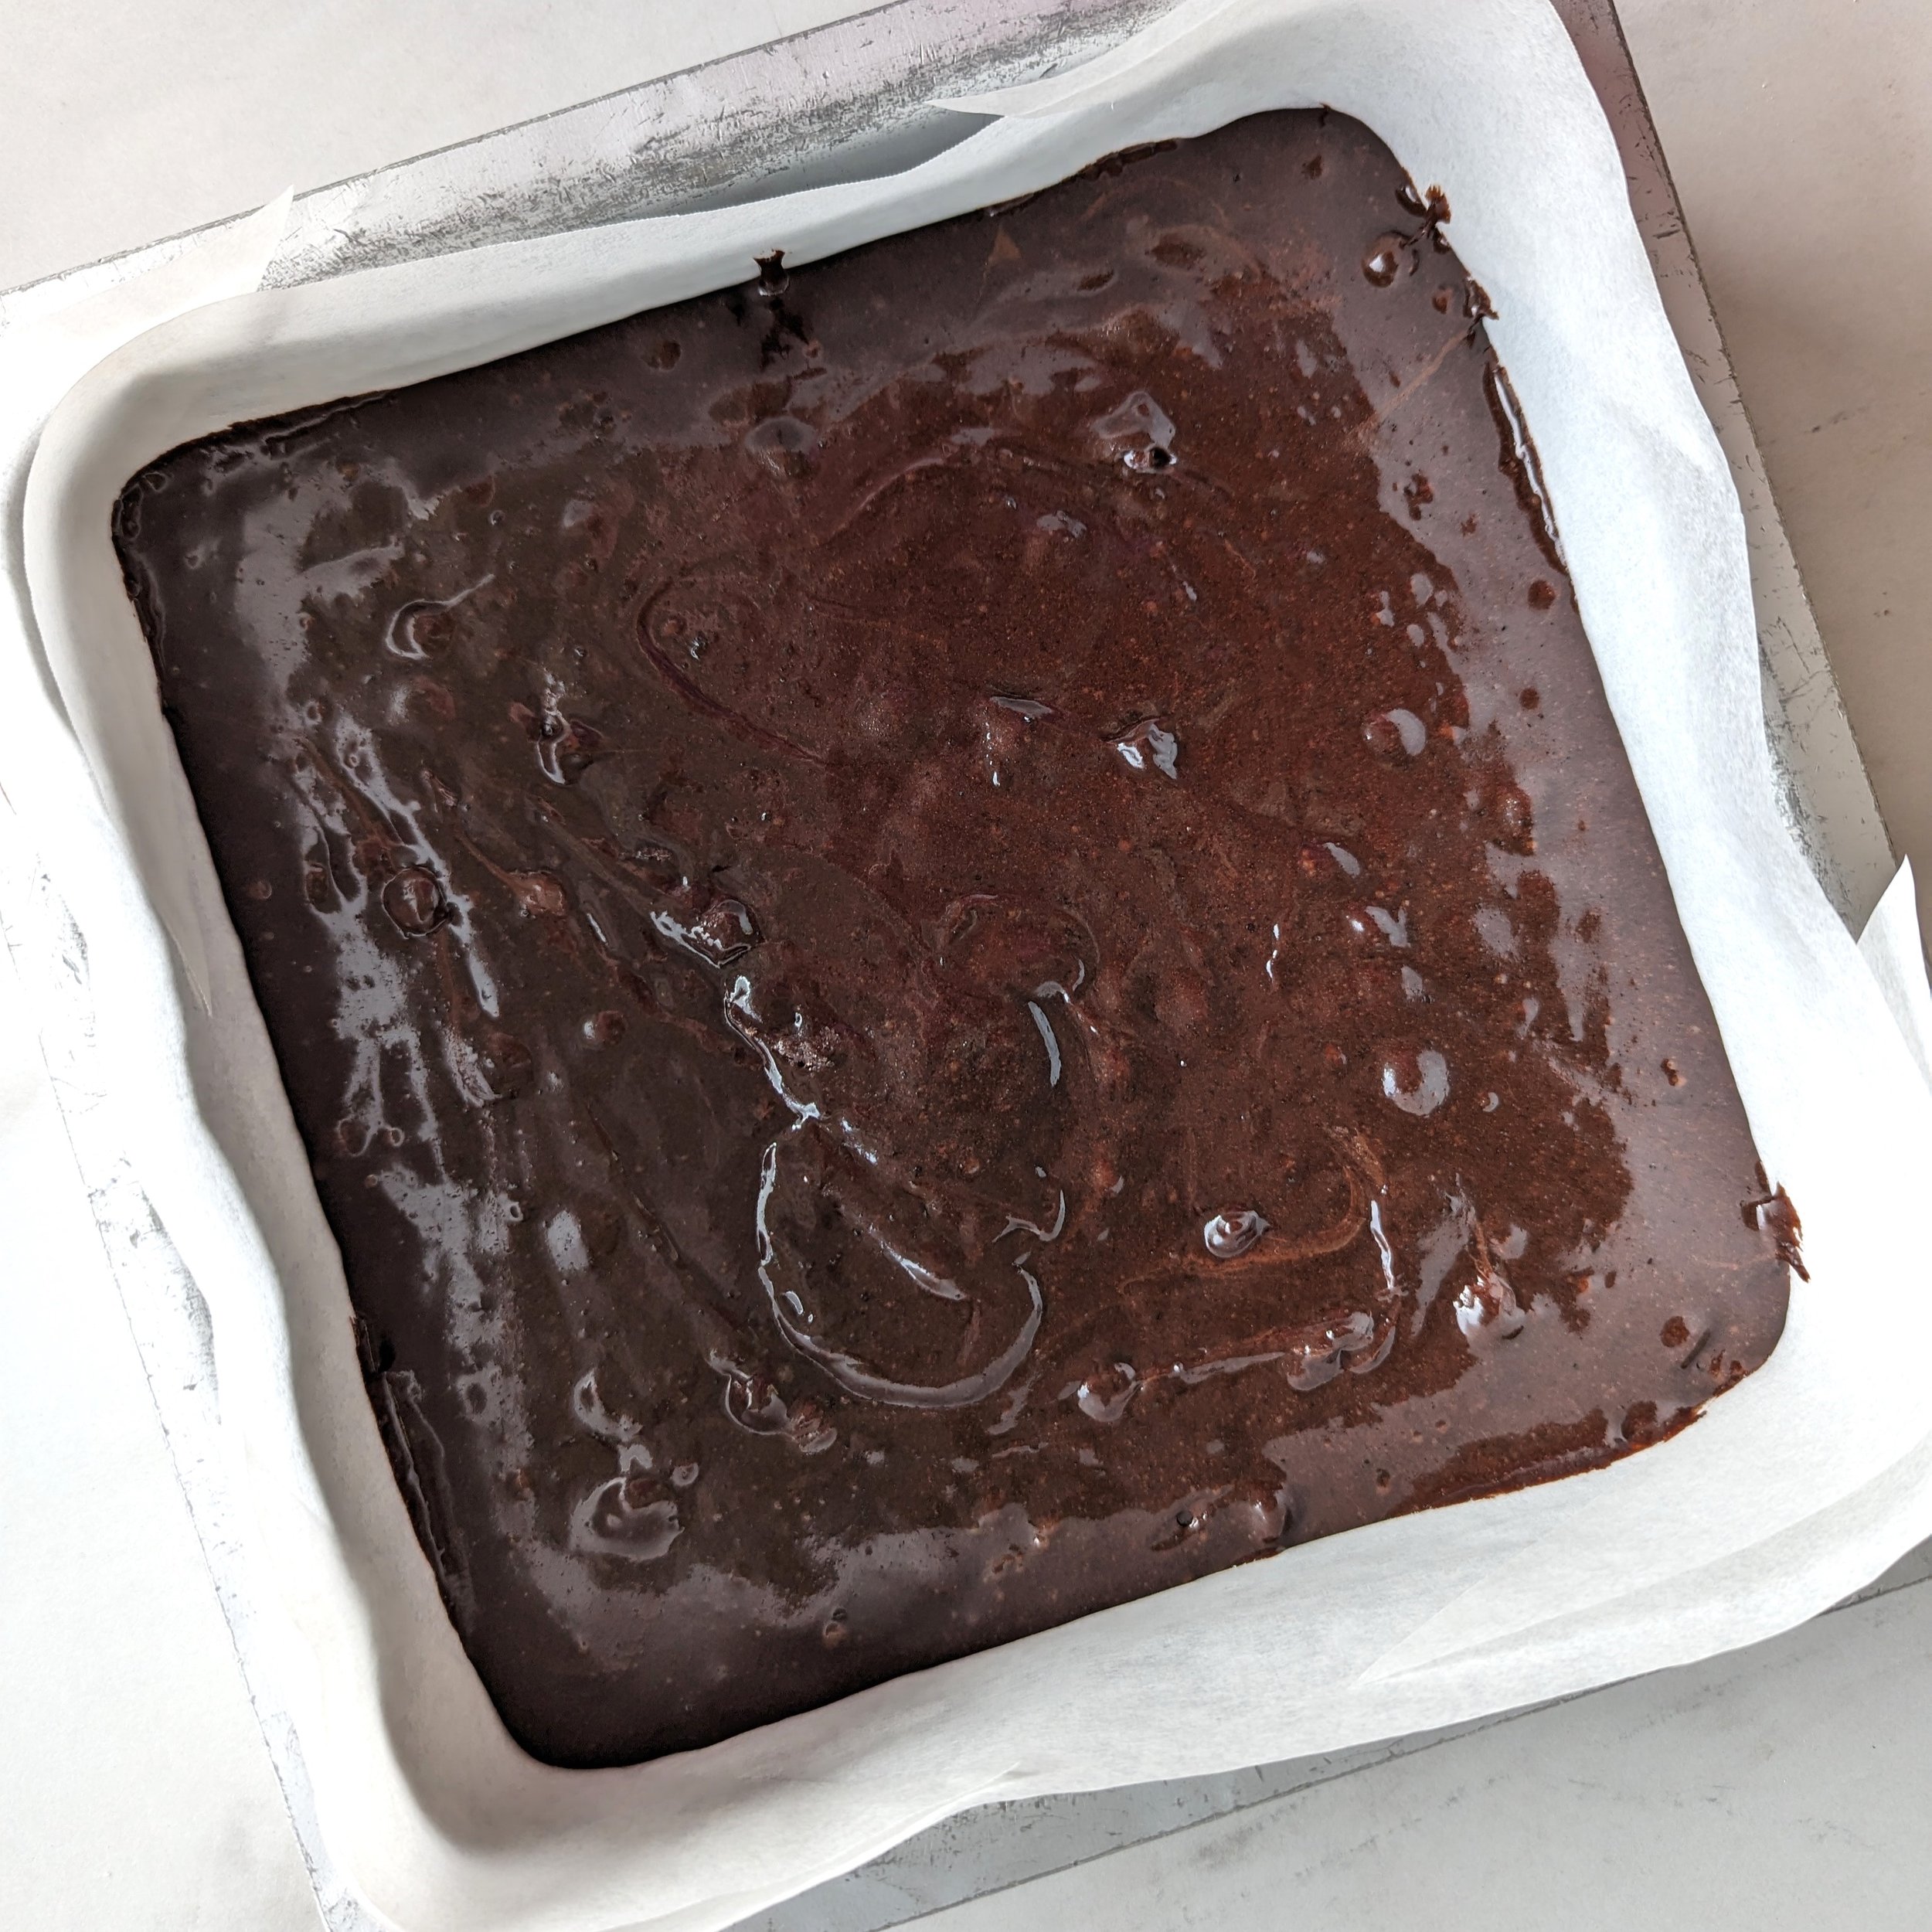
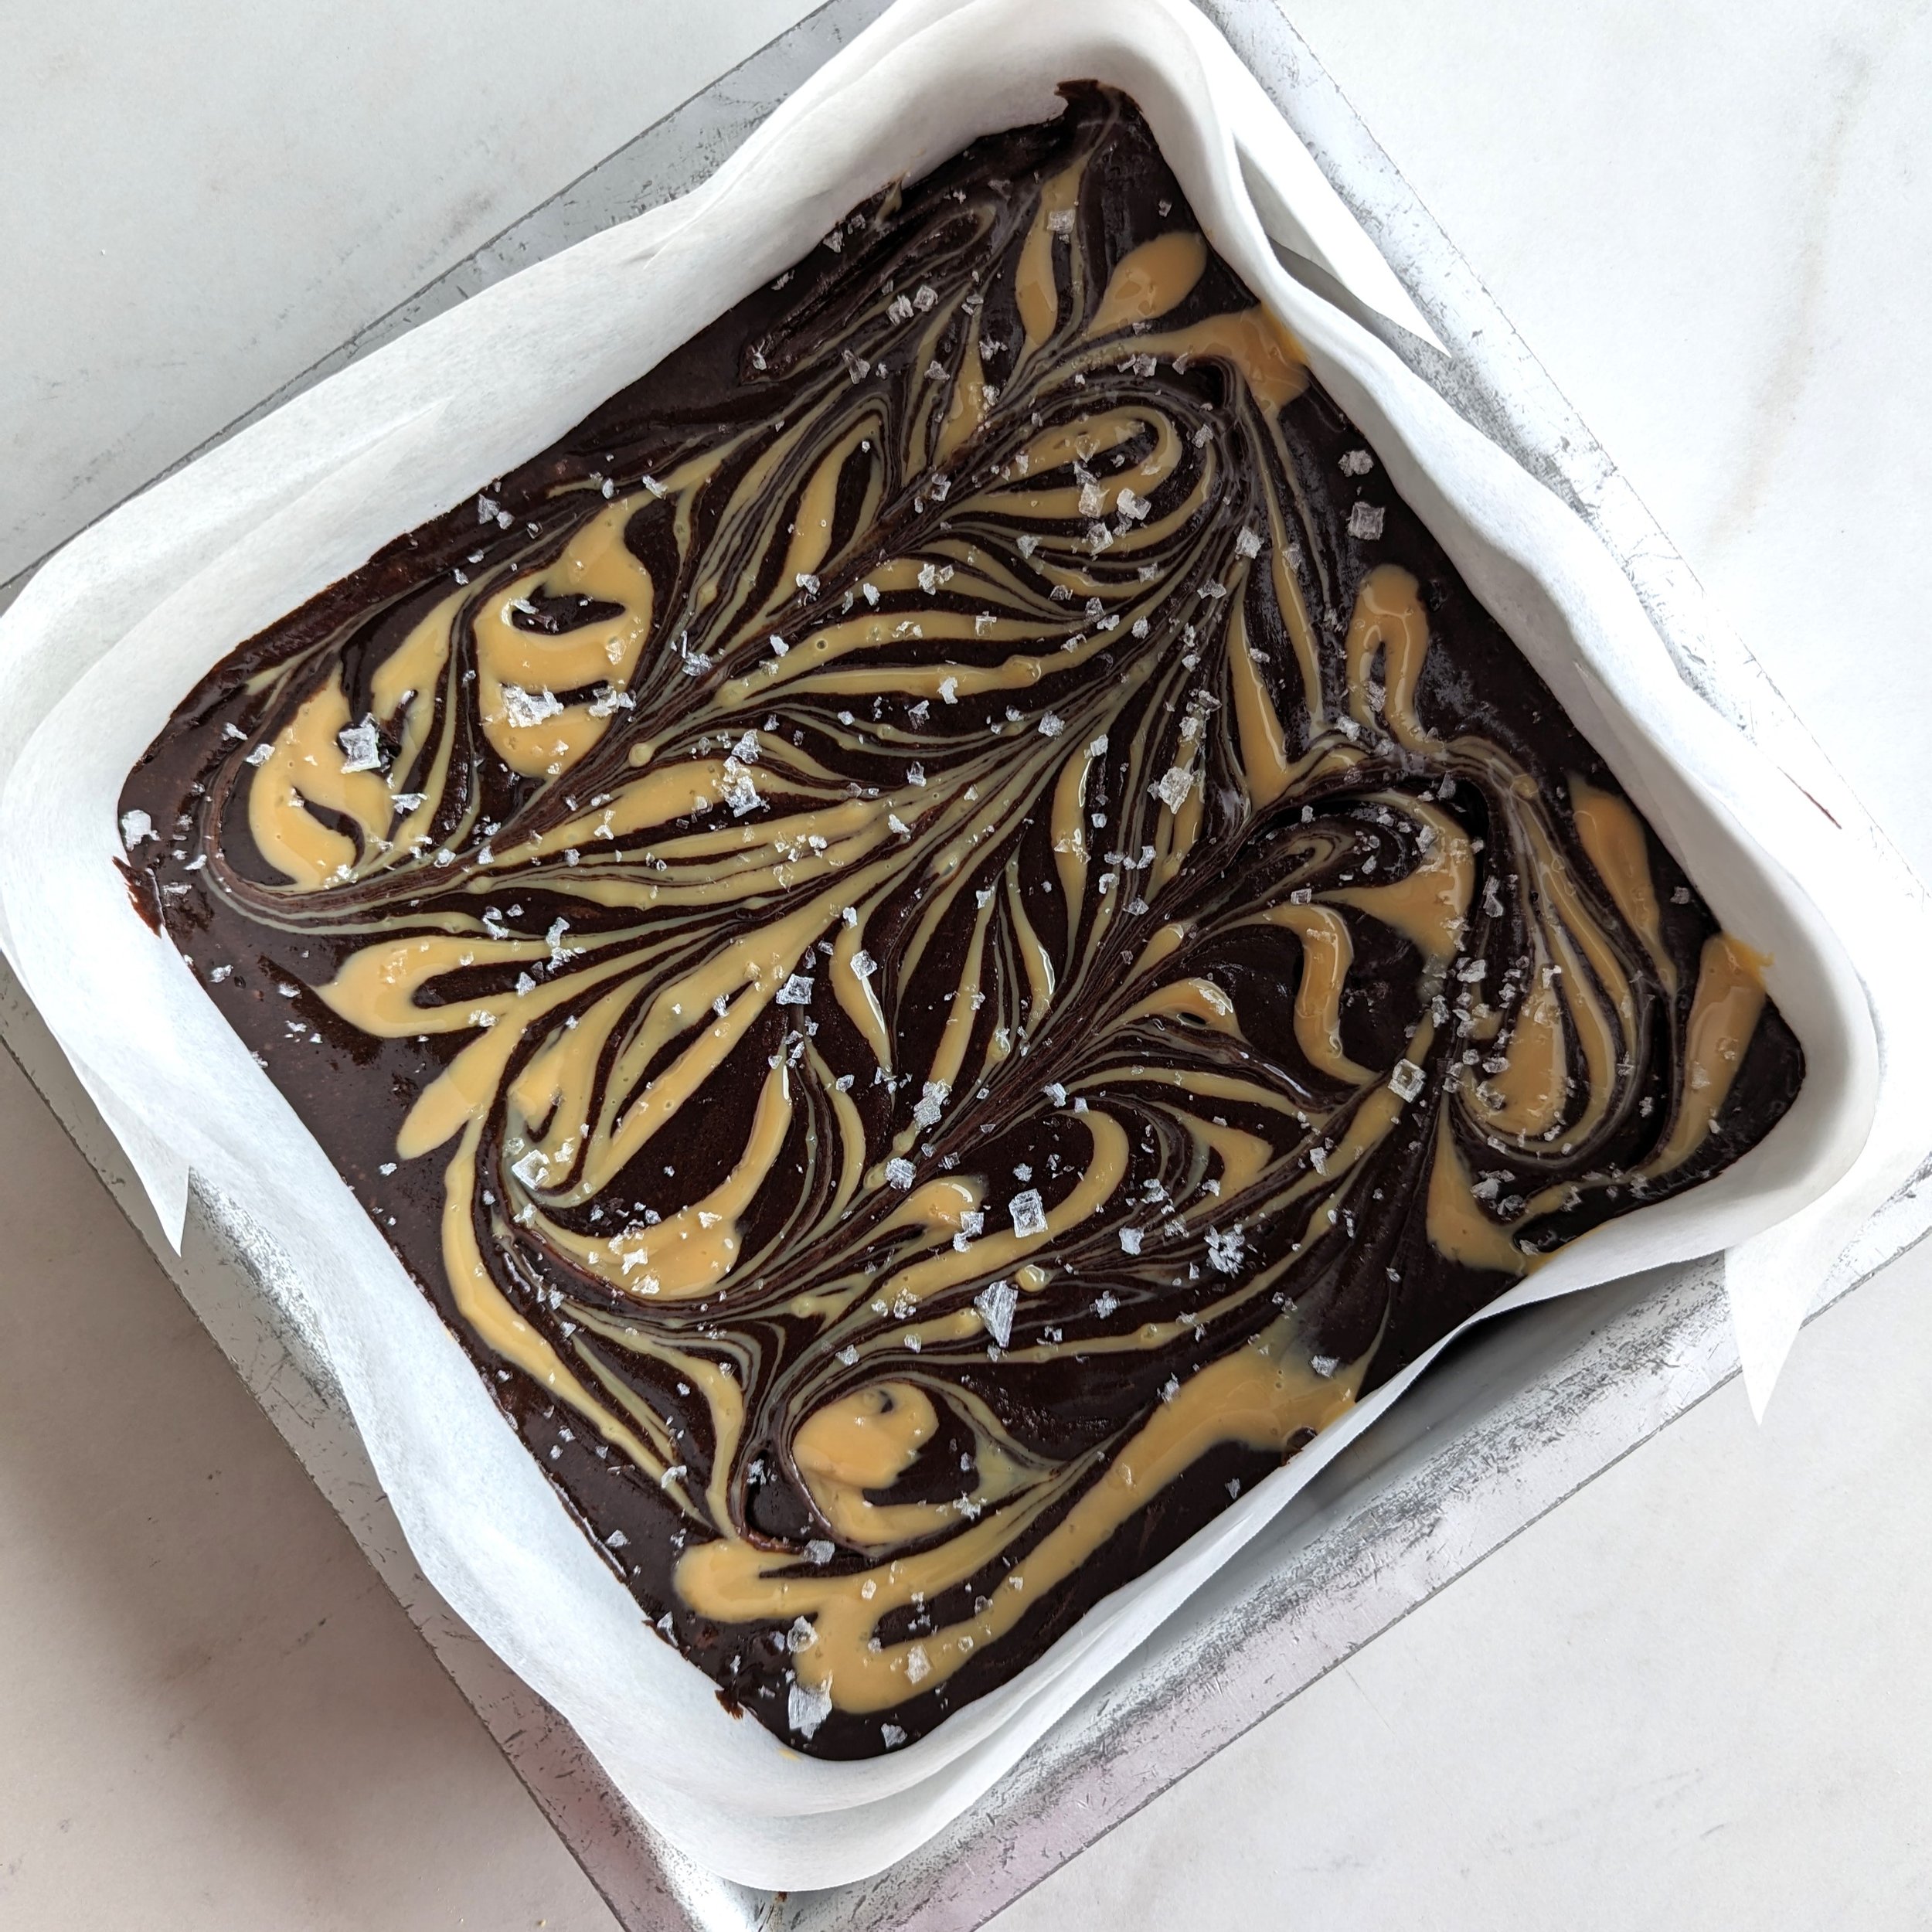
Pour your batter into your prepared 8 x 8 pan.
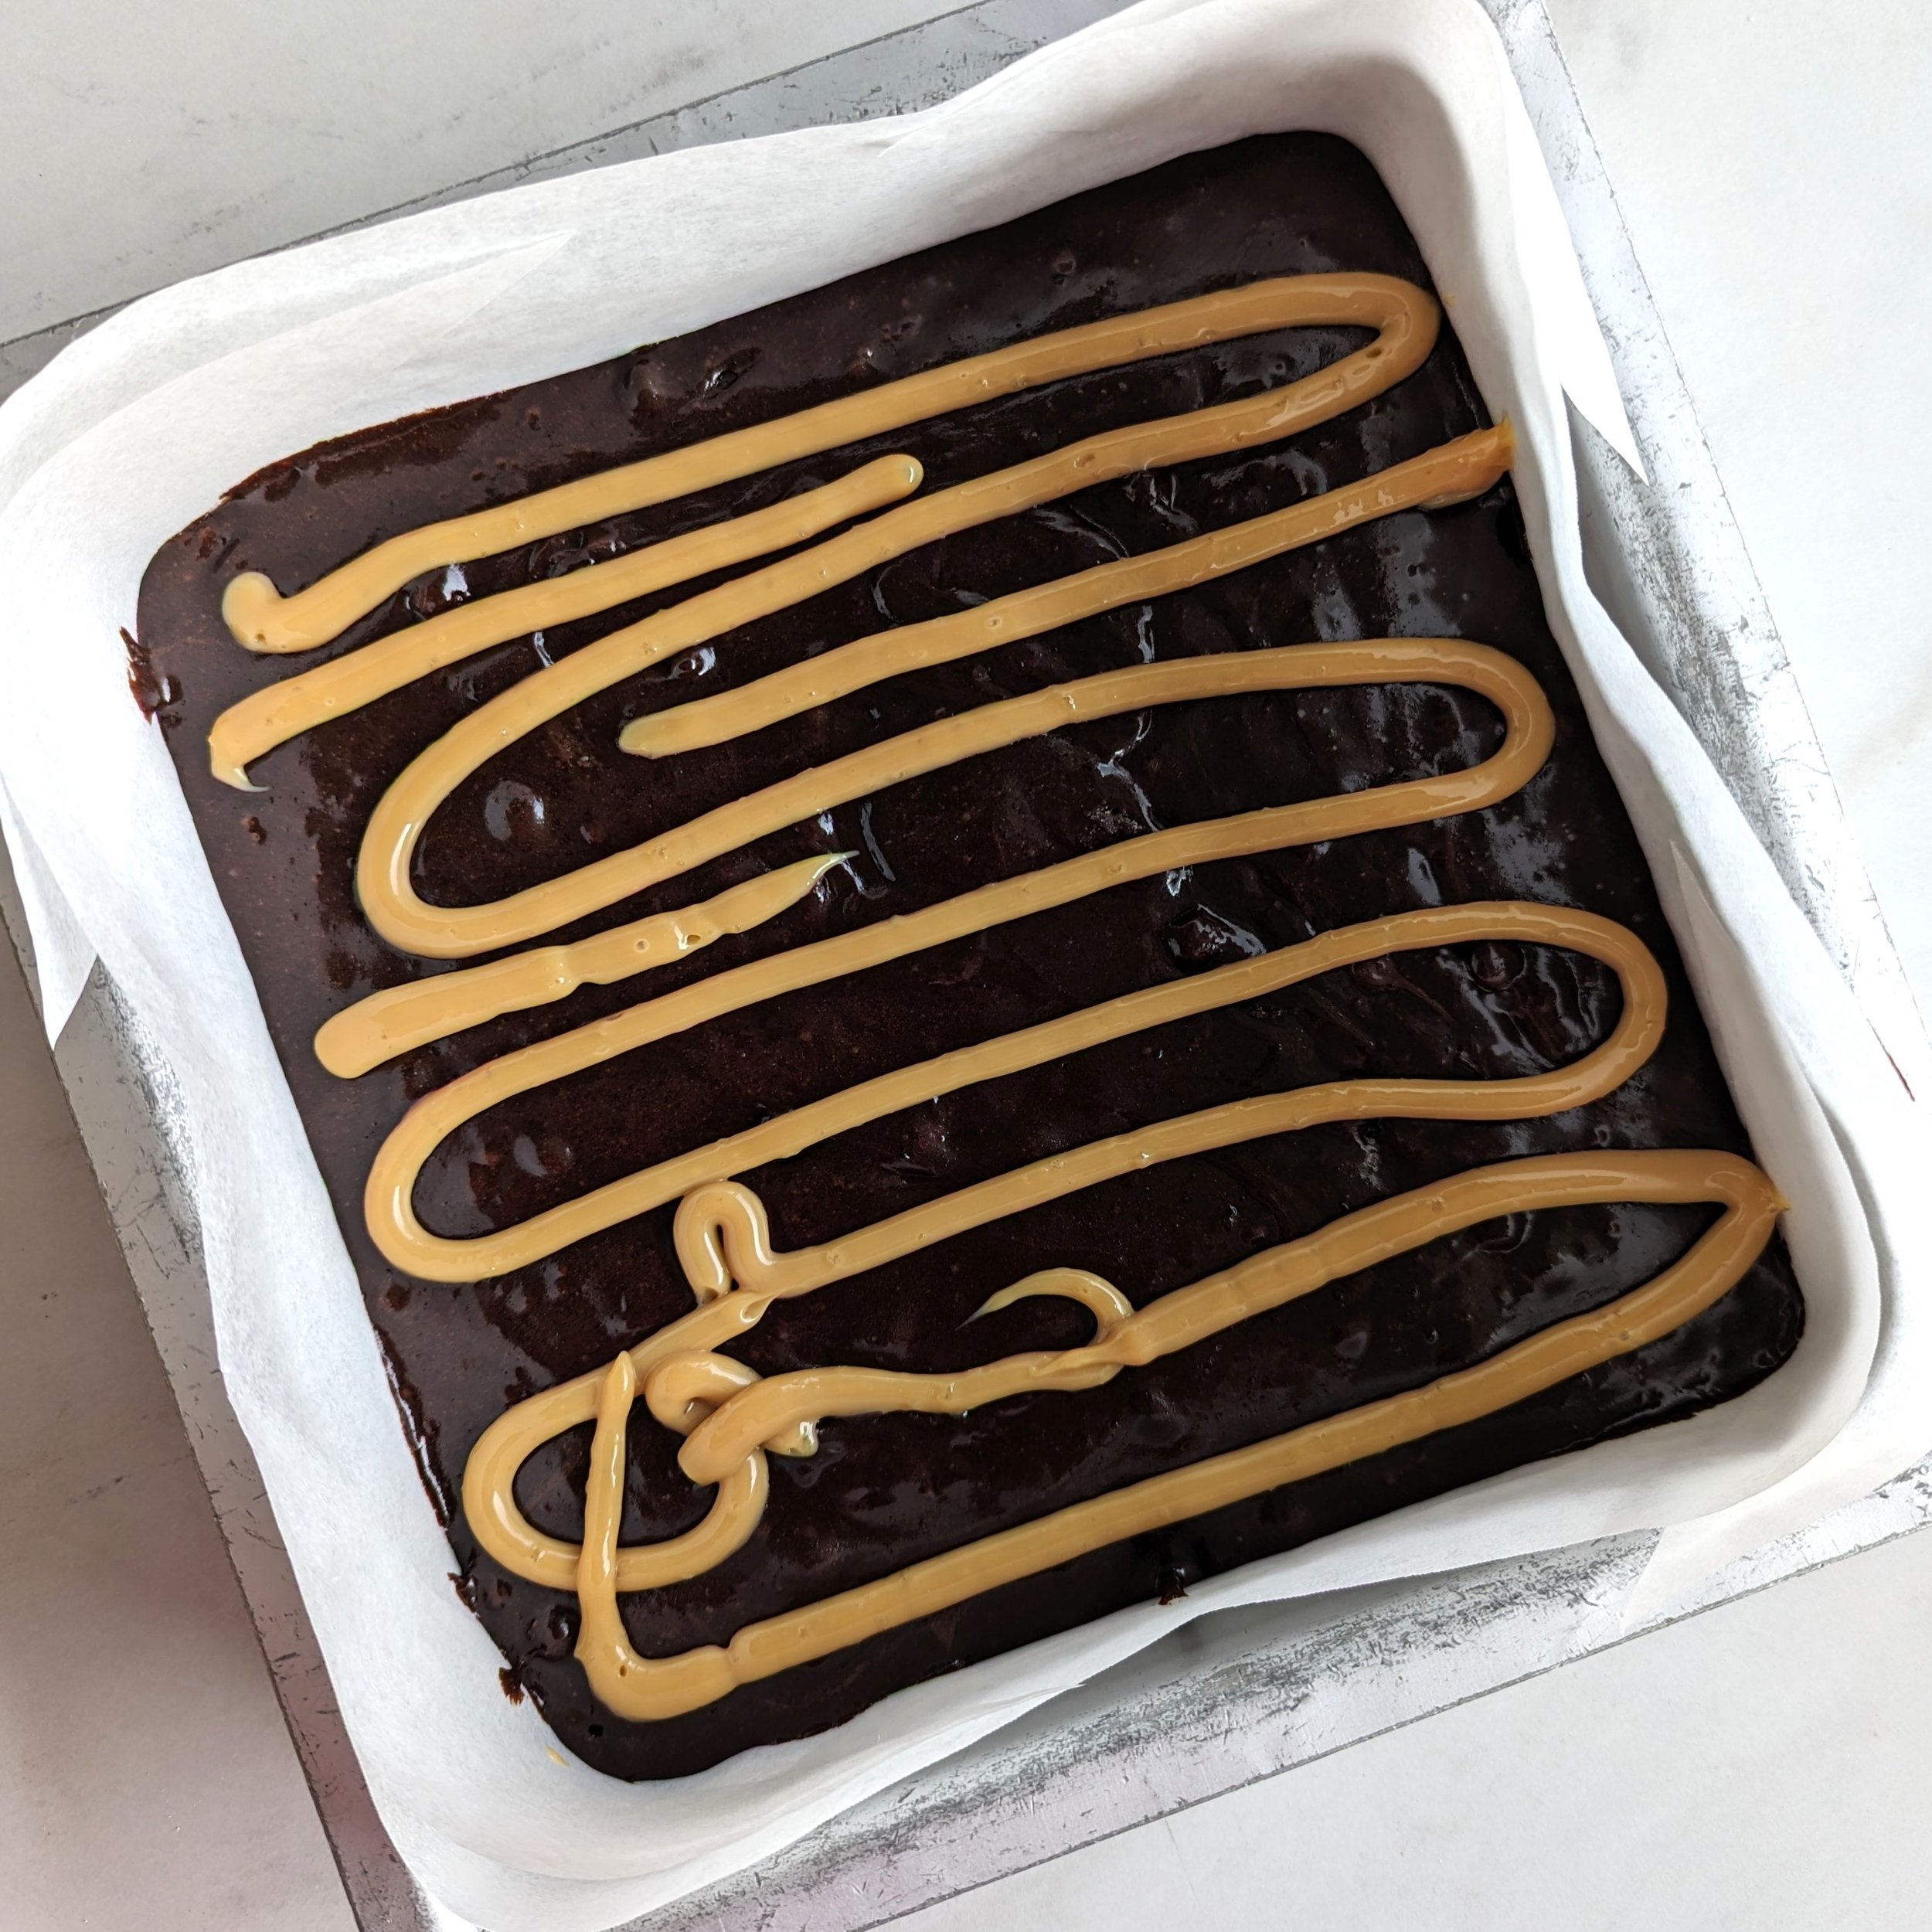
Take your piping bag with a small round tip and spoon some dulce de leche into it. Drizzle onto the brownies, then swirl it in with a butter knife.
Finally, top with a sprinkle of flaky sea salt if desired (I like this because dulce de leche is pretty sweet so this balances the flavours!)
Bake your brownies at 350 for about 15-20 minutes, until a toothpick poked into the centre comes out just the tiniest bit gooey.

Place the pan on a wire rack and let cool completely. Slice into desired sizes - I like them big so I cut them 3 x 3 so I get 9 brownies.
These can be stored at room temperature in an airtight container for up to 3 days, or in the freezer for several months.
Here's the recipe!

Dulce de Leche Brownies
Ingredients
- 2 large eggs
- 53 g (1/2 cup) cocoa powder
- 1/4 tsp sea salt
- 1/2 tsp espresso powder
- 1 tsp vanilla extract
- 112 g (1/2 cup) salted butter
- 223 g (1 1/8 cups) granulated sugar
- 90 g (3/4 cup) all purpose flour
- 100 g (1/2 cup) semi-sweet chocolate chips
- Dulce de Leche (homemade or storebought - see instructions in blog post)
Instructions
- Pre-heat oven to 350
- Line your 8 x 8 pan with parchment paper (see hack in blog post!)
- In a medium sized bowl, whisk together eggs, cocoa powder, salt, espresso powder, and vanilla. It will be clumpy, that's ok.
- In a microwave safe bowl, melt butter and sugar together in 1 minute increments, stirring after each, until the mixture is very hot.
- Pour the butter & sugar mixture into your cocoa/egg mixture and whisk until smooth. Use a spatula to get clumps out of your whisk if needed.
- Add your flour and chocolate chips to the batter and stir gently with a spatula until smooth.
- Pour your batter into your prepared pan.
- Fill a piping bag with a small round tip with dulce de leche (or use a ziploc bag and cut a small hole in the corner), then drizzle dulce de leche on top of your brownie batter. Be generous!
- Swirl the dulce de leche into your brownies with a butter knife, then sprinkle the top of your brownies with flaky sea salt (if desired)
- Bake at 350 F for 15-20 minutes, until a toothpick stuck in the centre comes out just a tiny bit gooey.
- Place pan on a wire rack and allow to cool completely, then cut brownies into desired sizes (I cut mine 3 x 3 for 9 brownies)
- Drizze brownies with extra dulce de leche before serving, if desired.
- Store brownies at room temperature in an airtight container for up to 3 days, or in the freezer for several months.


