The Peanut Butteriest Peanut Butter Cookies
Some of the links in this post might be affiliate links. Some of the links in this post might be affiliate links. As an Amazon Associate I earn from qualifying purchases. This means I earn a small amount of money if you purchase something through the link, at no cost to you. I promise I only recommend items I love! You can read our full disclosure here.
The Secret to Extra Peanut Buttery Peanut Butter Cookies: Natural Peanut Butter!
Something you should know about me is I’m a bit of a rebel when it comes to baking.
Another thing you should know about me is that I LOVE peanut butter.
Most baking recipes that use peanut butter will tell you specifically not to use natural peanut butter. There’s no additives so it’s just not as stable and it might produce greasy baked goods or cause other problems. Not this recipe, though! This recipe was specifically formulated to use natural peanut butter.
Why?
When you don’t have all of that extra fluff like icing sugar and other oils and gums and whatnot in your peanut butter, the peanut flavour really shines. Add it to a cookie and it makes the cookie super peanut buttery! If you’re eating a peanut butter cookie, you want it to actually taste like peanut butter, right!?
My favourite natural peanut butters are the ones with a little bit of salt added to them. I find it helps to bring out the flavour even more. You can use unsalted, but you might want to add an extra pinch of salt to the recipe! You can also choose to use either creamy or crunchy, it just depends whether you want a little crunch in your cookies or not. I like these both ways.
This is one of the first cookie recipes that I perfected back when I first started my bakery in 2014. Back then I was selling my cookies at Farmer’s Markets and probably annoying my two roommates every market day when I woke up at the crack of dawn and took over the entire kitchen. A LOT has happened since then but that’s a story for another day. For now, I’m very excited to share this recipe with you!
Here’s how to make them:
You can find the full recipe below but I’ll go over the steps in a little extra detail here and with pictures.
First, gather all of your tools & ingredients, and line a baking tray with parchment paper.
You’re going to add your softened butter, peanut butter, sugar, and brown sugar to the bowl of a stand mixer and beat those on medium speed until they are fully combined. You don’t want to beat too long or you’ll end up with cakey cookies. Alternatively, if you don’t have a stand mixer, you can use a handheld mixer or a just a bowl and a wooden spoon.
While your butters and sugars are mixing, crack your eggs into a separate small bowl and add your vanilla.
With the mixer running on medium speed, add 1 egg. Wait until it looks fully incorporated, then add the next. Stop your mixer, scrape the sides and bottom of the bowl with a rubber spatula (you can find my favourite sprinkle spatula here!), then mix again for a few seconds.
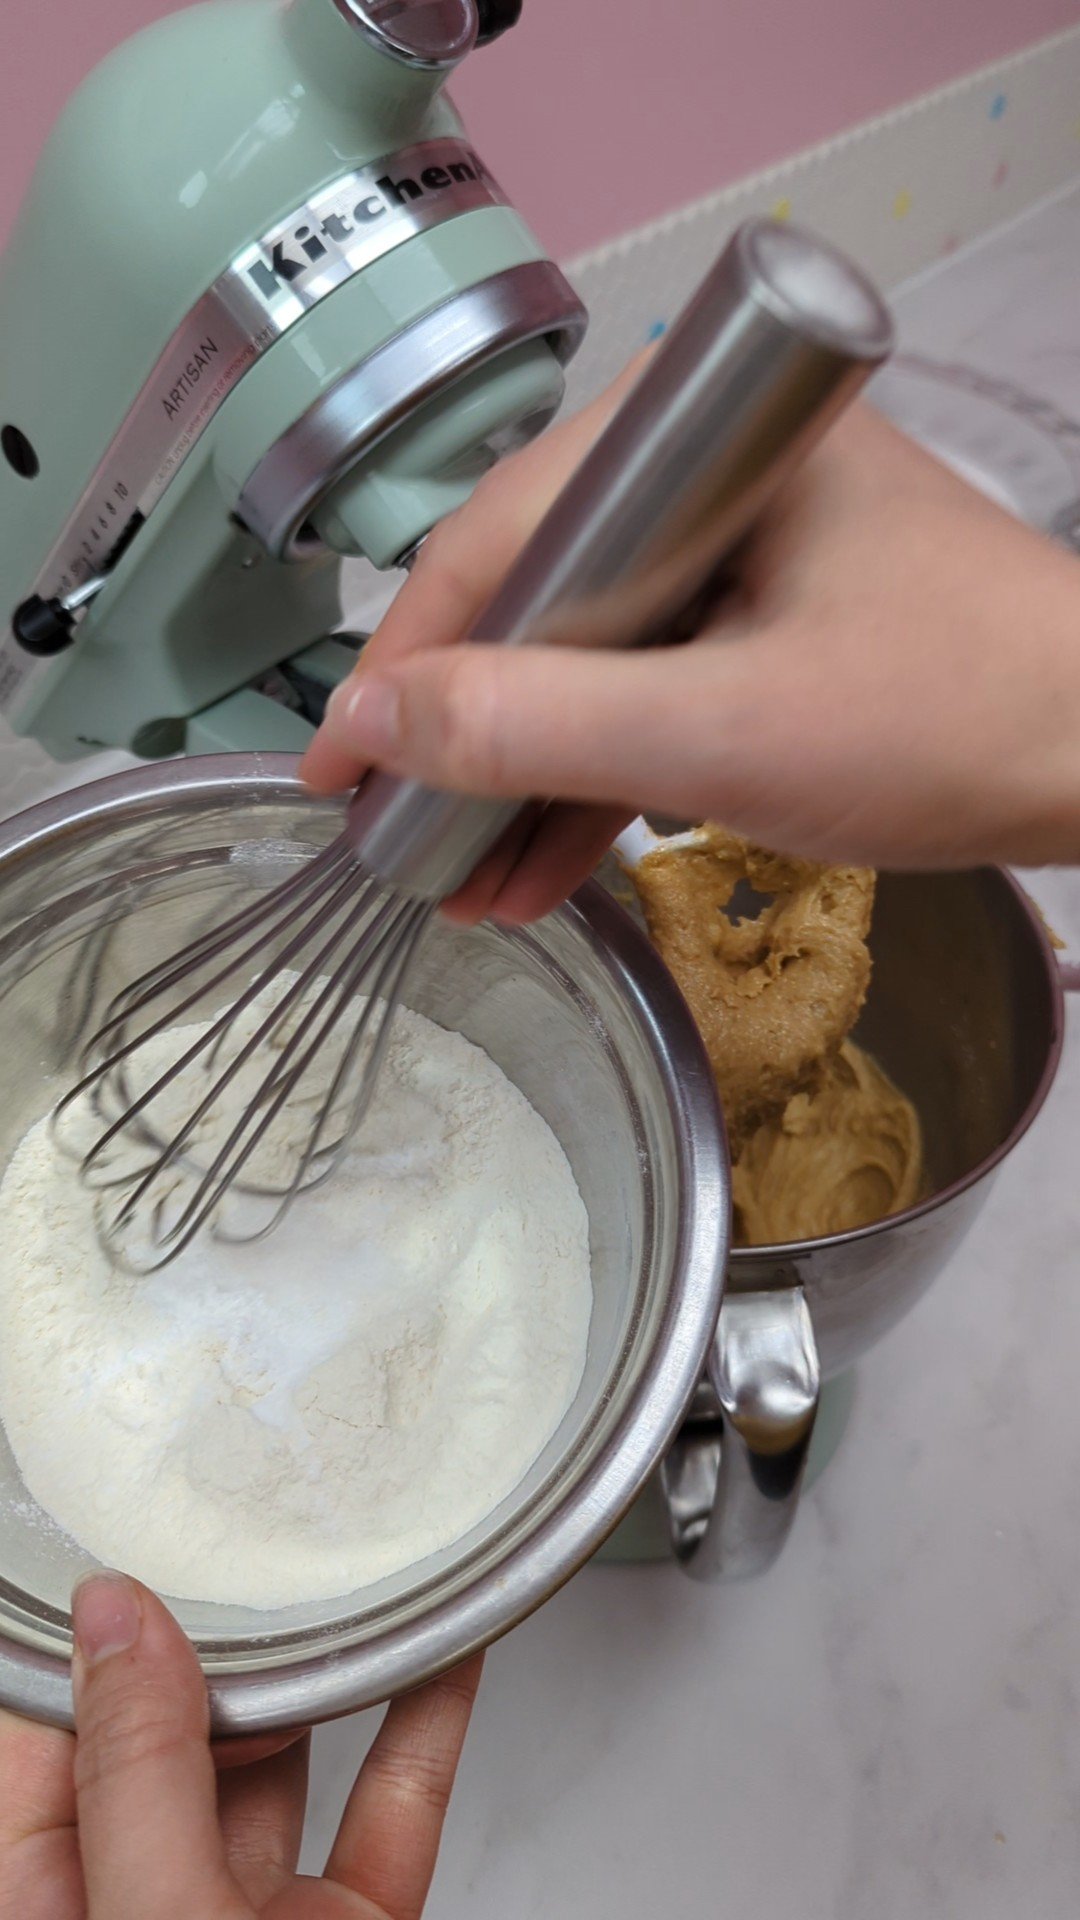
Whisk together your flour, baking powder, and salt in a small bowl. (If you’re a super speedy pro, you can do this while your butters and sugars are mixing!)
Add flour mixture to mixer bowl and mix on low speed until JUST incorporated. You’ll probably still see a few bits of unmixed flour. That’s ok.
Take your bowl off the mixer and use your handy dandy rubber spatula (you’ll soon realize this spatula is my favourite kitchen tool!) to scrape around the edges and bottom of your bowl and make sure there are no rogue unmixed bits of butter or sugar or flour. Everything should be completely uniform. Alternatively, you can use clean hands to do this step (I’m also a big fan of this method - this way you can feel very easily whether or not your dough is completely mixed)
Now, take a pie plate or a shallow bowl and put some granulated sugar in it. Using a #24 cookie scoop (Like this one), scoop your cookies into the pie plate a few at a time, roll each completely in sugar, then place on your parchment covered baking tray. You should be able to fit about 12 on a standard baking tray. Leave a few inches between each cookie. Alternatively, you can use your hands to form the dough into balls about 2” in diameter.
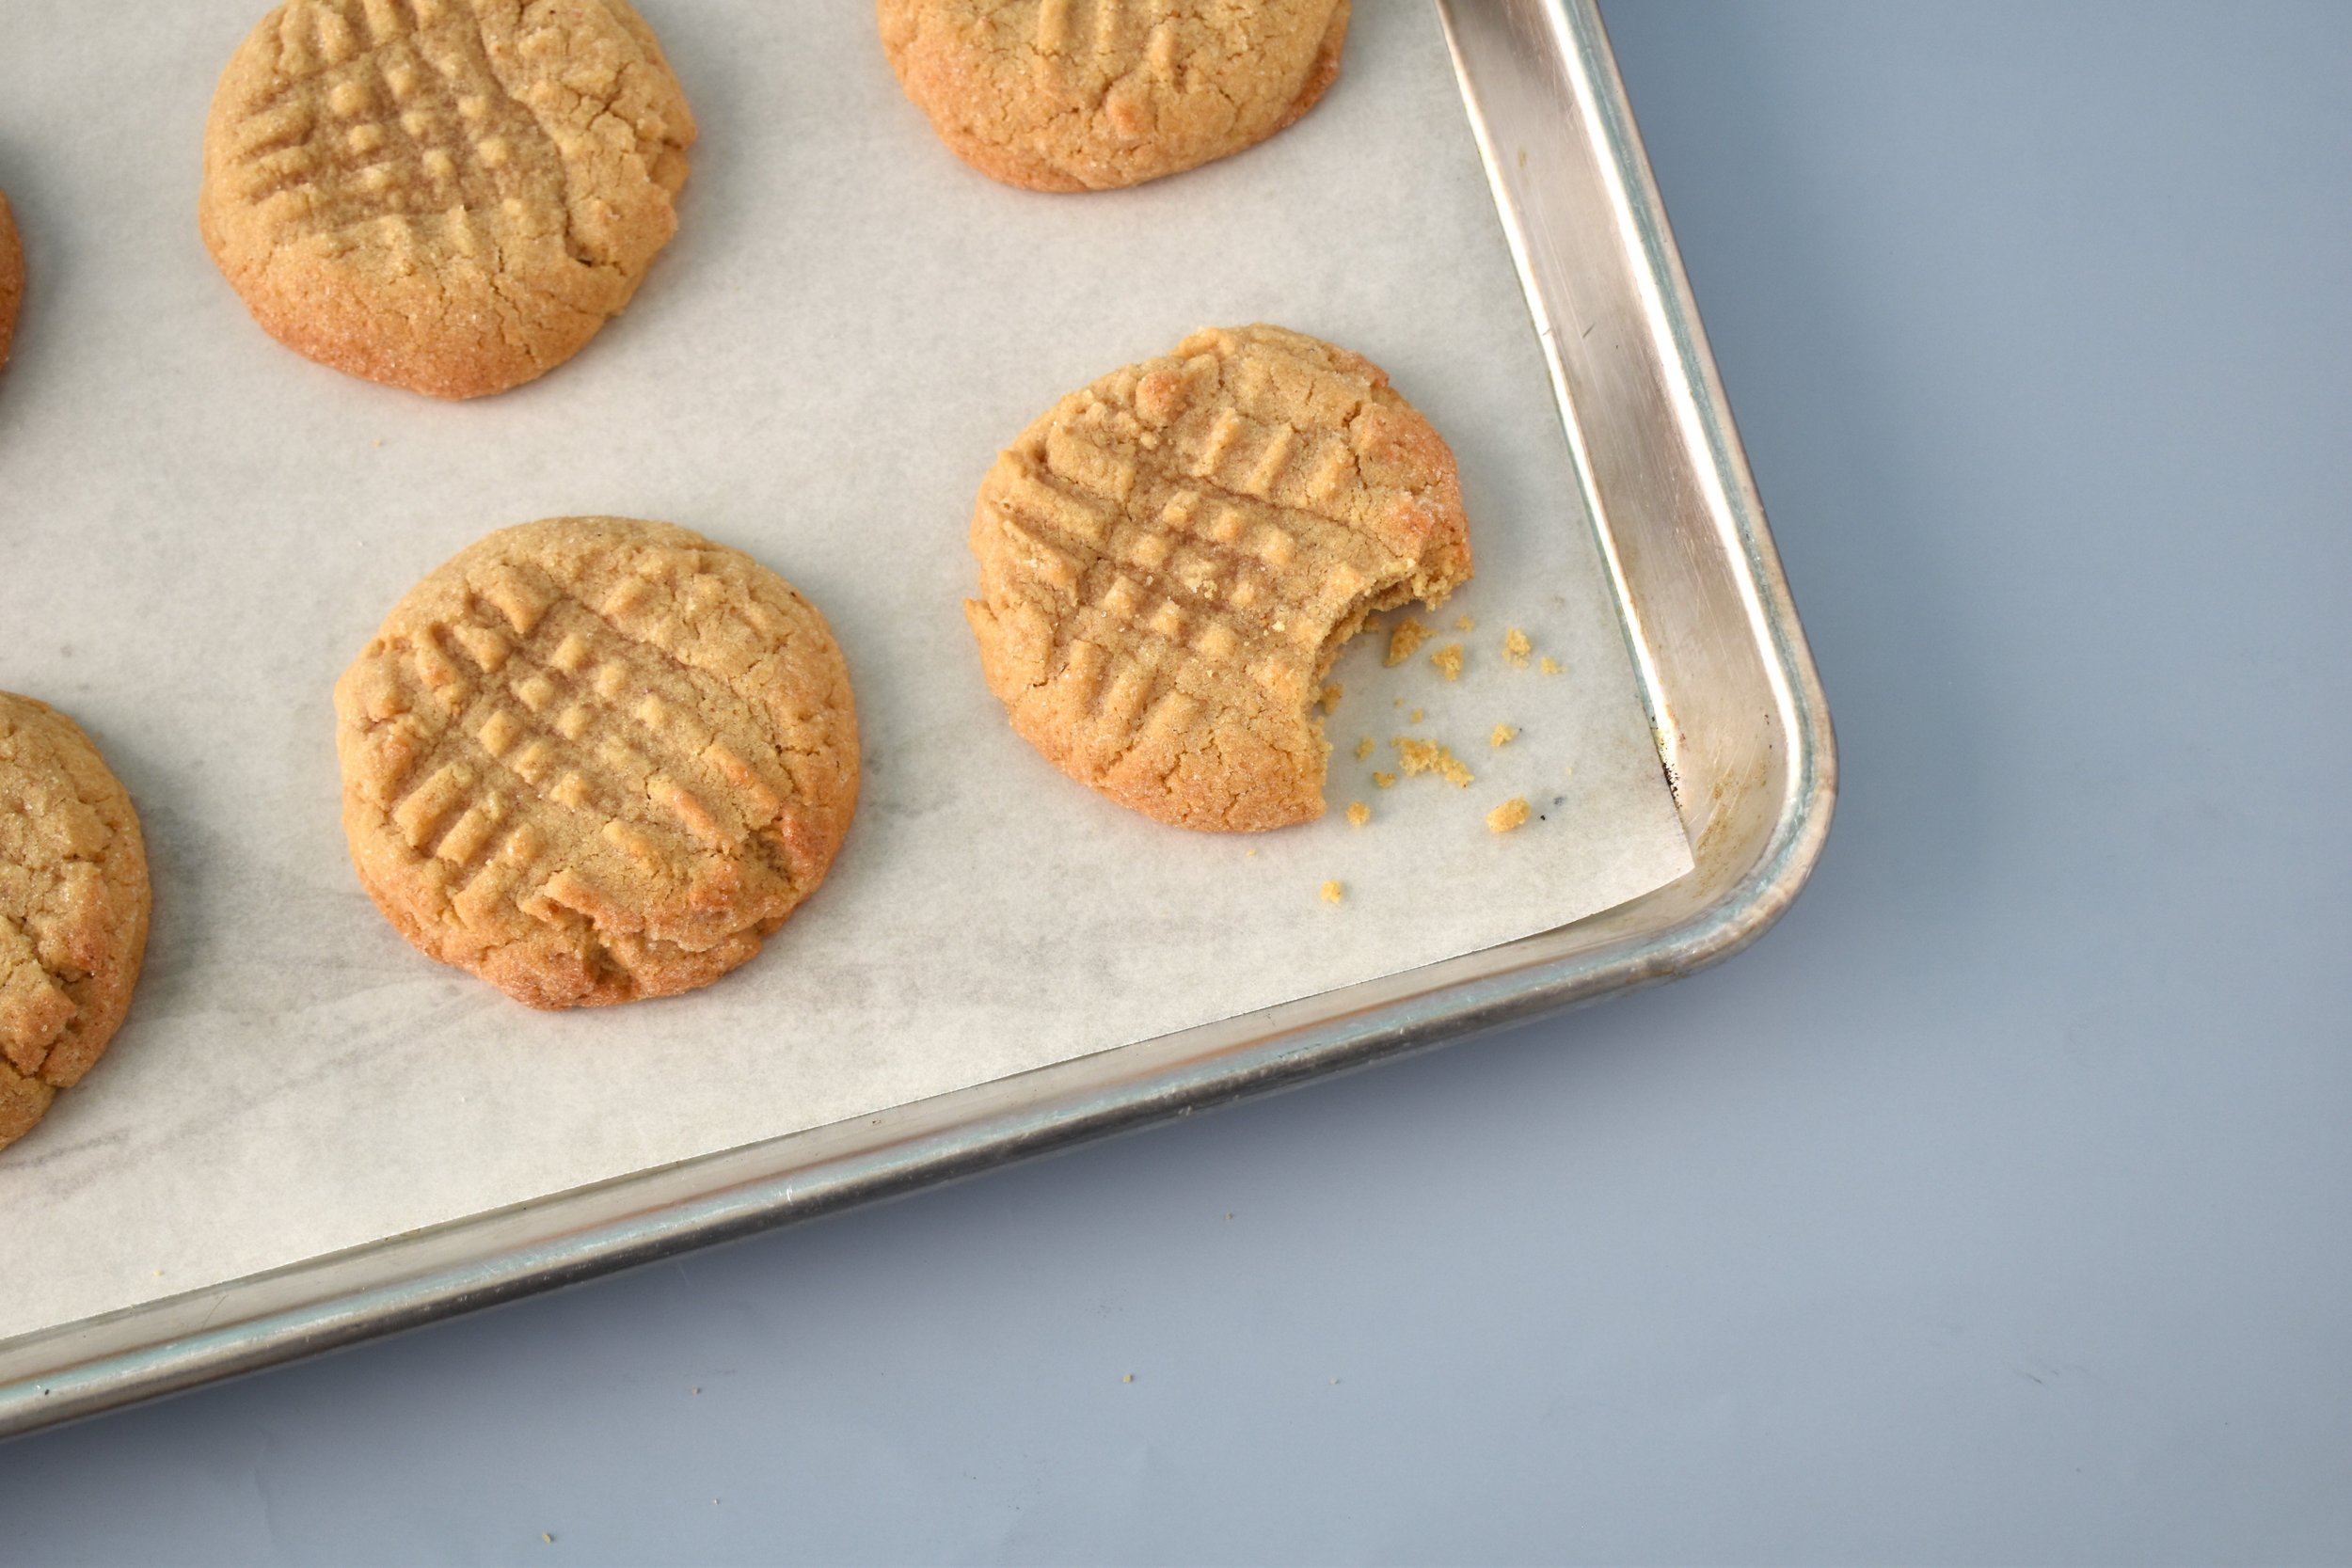
Take a fork and squish a crosshatch pattern into each cookie, then bake at 350 C for 8-9 minutes, just until there are no wet spots on top of the cookies.
Store at room temperature in an airtight container for up to 3 days or in the freezer in an airtight container for up to 6 months.

Classic Peanut Butter Cookies
Ingredients
- 205 grams (1 1/2 cups) All Purpose Flour
- 3/4 tsp Baking Powder
- 1 1/4 tsp Salt
- 115 grams (1/2 cup) Salted Butter (Room Temperature)
- 260 grams (1 cup plus 2 tbsp) Natural Peanut Butter (creamy or crunchy)
- 120 grams (2/3 cup) Granulated Sugar
- 100 grams (1/2 cup) Brown Sugar
- 2 Eggs (Room Temperature)
- 1 tsp Vanilla Extract
- Granulated Sugar (For Rolling)
Instructions
- Place butter, peanut butter, sugar, and brown sugar in a mixer bowl and beat on medium speed with a paddle attachment until smooth. (Alternatively, you can use a regular bowl and mix with a wooden spoon)
- Crack your eggs into a bowl or pitcher and add your vanilla.
- With mixer running on medium speed, add your eggs one at a time, waiting for each to incorporate before adding your next one.
- Stop your mixer, scrape down the sides and bottom of your bowl with a rubber spatula, then mix again for a few seconds.
- Whisk together flour, baking powder, and salt in a bowl.
- Add your flour mixture to your mixer bowl and mix on low speed until just incorporated. Remove bowl from mixer and finish off mixing by hand with a spatula, making sure all ingredients are fully incorporated.
- Scoop with a #24 scoop into a bowl or pie plate with granulated sugar in it. Roll each cookie fully in sugar before placing it on a baking tray 6 x 4. (Alternatively, use your hands to make balls of dough approximately 2" in diameter - you should get about 24 balls)
- Use a fork to squish each cookie with a crosshatch pattern and bake at 350 F for 8-9 minutes just until there are no wet spots on the tops of the cookies.
- Leave to cool for a few minutes on the baking tray, then transfer to a cooling rack using a spatula and let cool completely.
- Store at room temperature in an airtight container for up to 3 days, or in an airtight container in the freezer for up to 6 months.
Notes
Please note that for accuracy, it's always best to use a kitchen scale to measure your ingredients, so my recipes are always in grams first, but volume measurements have also been provided in case you don't own a scale!


